Introduction to Acrylic Shoe Painting
Acrylic shoe painting is a creative way to personalize your footwear. Whether you wish to give new life to an old pair of shoes or want to express your artistic side, learning how to paint shoes with acrylic paint is a rewarding endeavor. This guide will help you transform your shoes into a wearable piece of art.
Acrylic paints are perfect for shoe customization because they are flexible, durable, and come in a wide range of vibrant colors. With the correct techniques and materials, acrylic paint can adhere well to most shoe materials, including leather and fabric. Moreover, when properly sealed, your designs can withstand wear and tear, retaining their beauty over time.
In the following sections of this step-by-step guide, we will cover everything you need to get started, including the essential materials you’ll need, how to prepare your shoes for painting, detailed painting instructions, and tips for caring for your painted shoes. Let’s kick off your shoe painting journey with confidence and creativity!
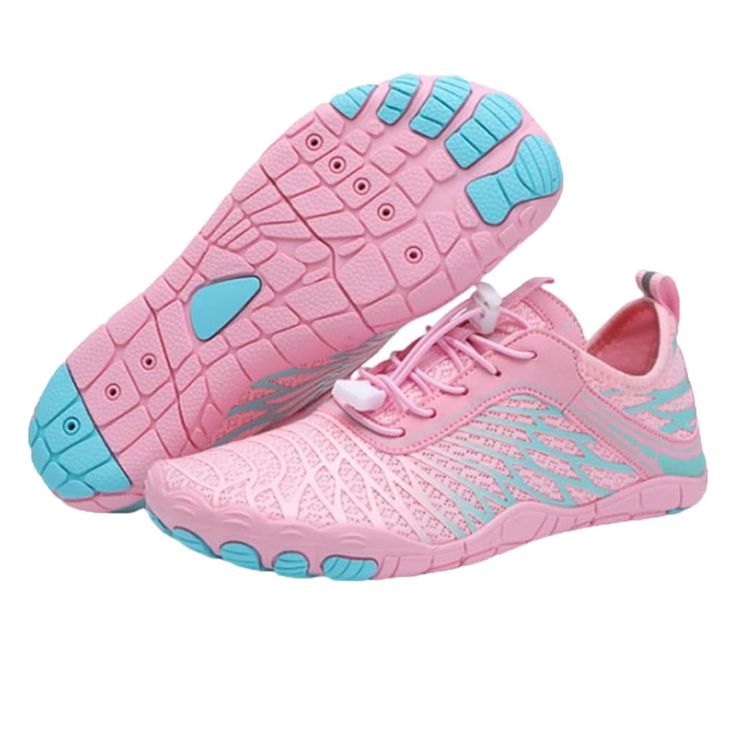
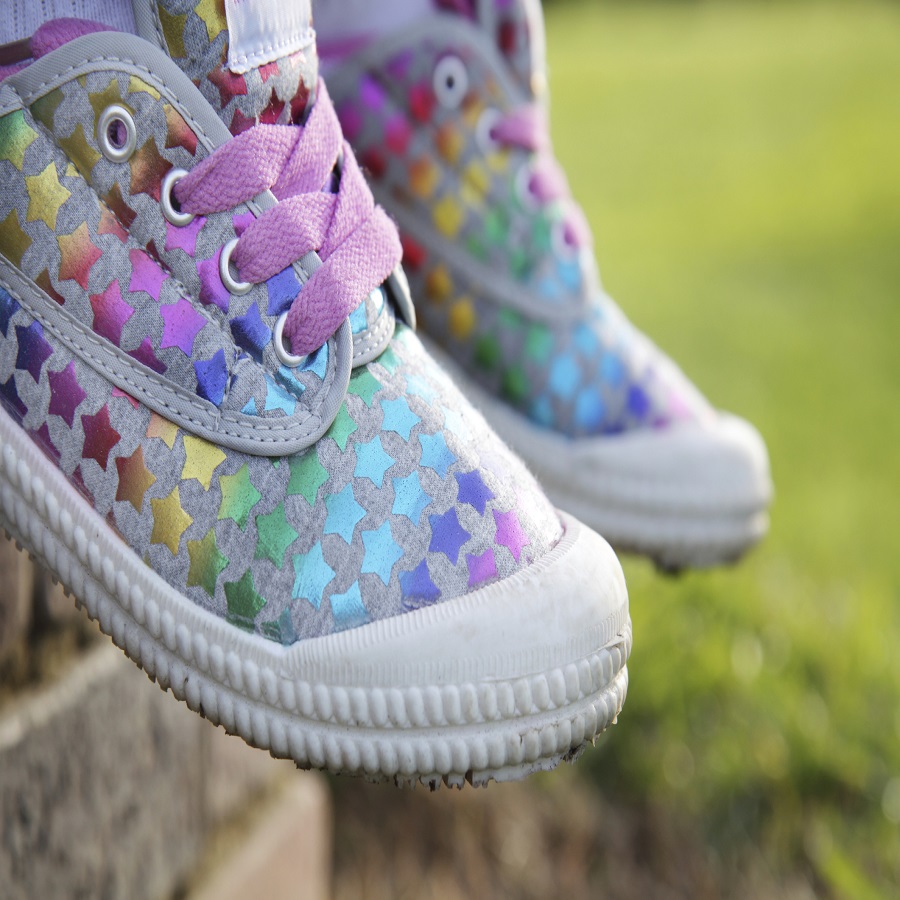
Funky shoes.
 Essential Materials for Shoe Painting
Before diving into the world of shoe painting, it’s important to gather all the necessary materials. Having the right tools at your disposal will not only make the process smoother but also can greatly affect the outcome of your design. Here’s a list of essential materials you’ll need to start with acrylic shoe painting:
- Acrylic paints: Choose high-quality paints designed for versatility and durability.
- Paintbrushes: A variety of sizes for broad strokes and fine details.
- Primer: To prepare the shoe surface for painting.
- Palette: For mixing colors and diluting paint.
- Containers: To hold and dispense water or paint.
- Rag or cloth: For wiping brushes between colors.
- Masking tape: To cover areas you don’t want to paint.
- Acetone or rubbing alcohol: For cleaning the shoes before you begin.
Now that you know what materials you need, let’s focus on two key components: the acrylic paints and the brushes and tools.
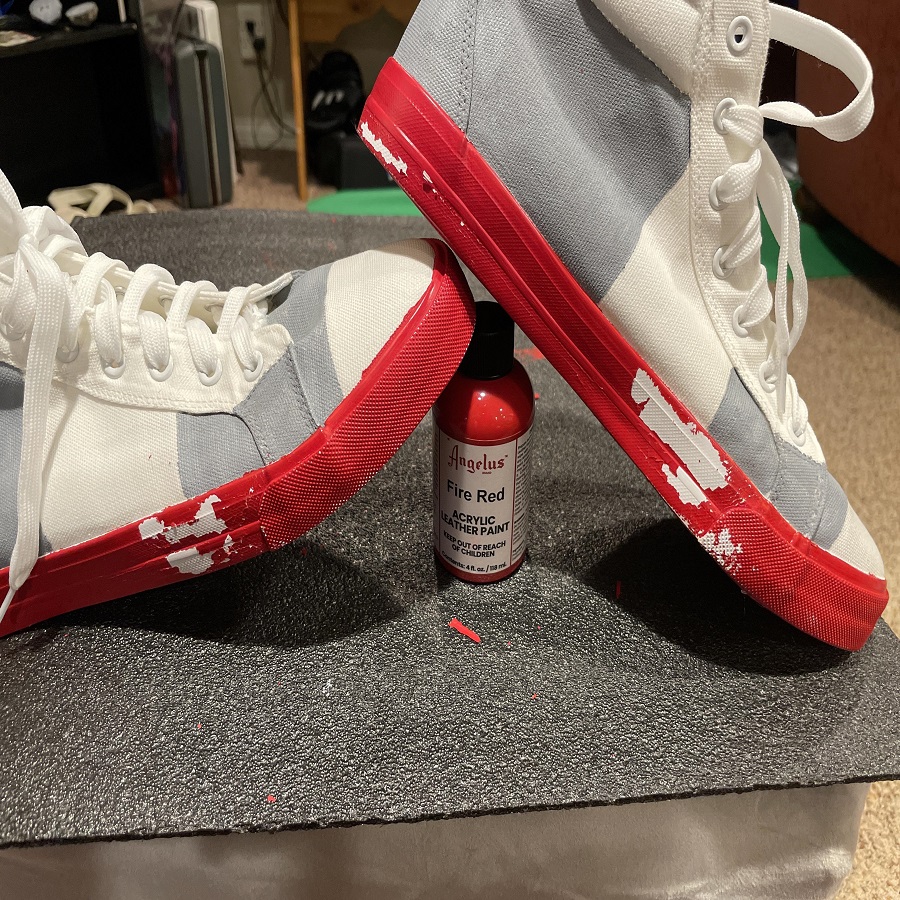
Choosing the Right Acrylic Paints
Selecting quality acrylic paints is crucial when learning how to paint shoes with acrylic paint. Look for paints that are flexible when dry, to prevent cracking or peeling as the shoe bends. The pigmentation should be strong to ensure vibrant and lasting colors. Opt for paints that can be sealed with a finisher for extra durability.
Selecting Brushes and Tools
The brushes you choose will greatly impact the precision and quality of your work. Different brush types and sizes will provide control over detailed areas and broad sweeps of color. For tools, a fine-tip marker can help outline your designs before painting, while a sponge might be used for a textured effect. It’s also worth investing in a good sealant brush for applying finishes. Choose tools that feel comfortable in your hand, as you’ll be using them for extended periods.
Preparing Your Shoes for Painting
Preparing your shoes properly is a key step in the acrylic painting process. It ensures that the paint adheres well and lasts longer. Two crucial steps to prepare your shoes for painting are cleaning and priming, followed by taping and protecting the areas you don’t want to paint.
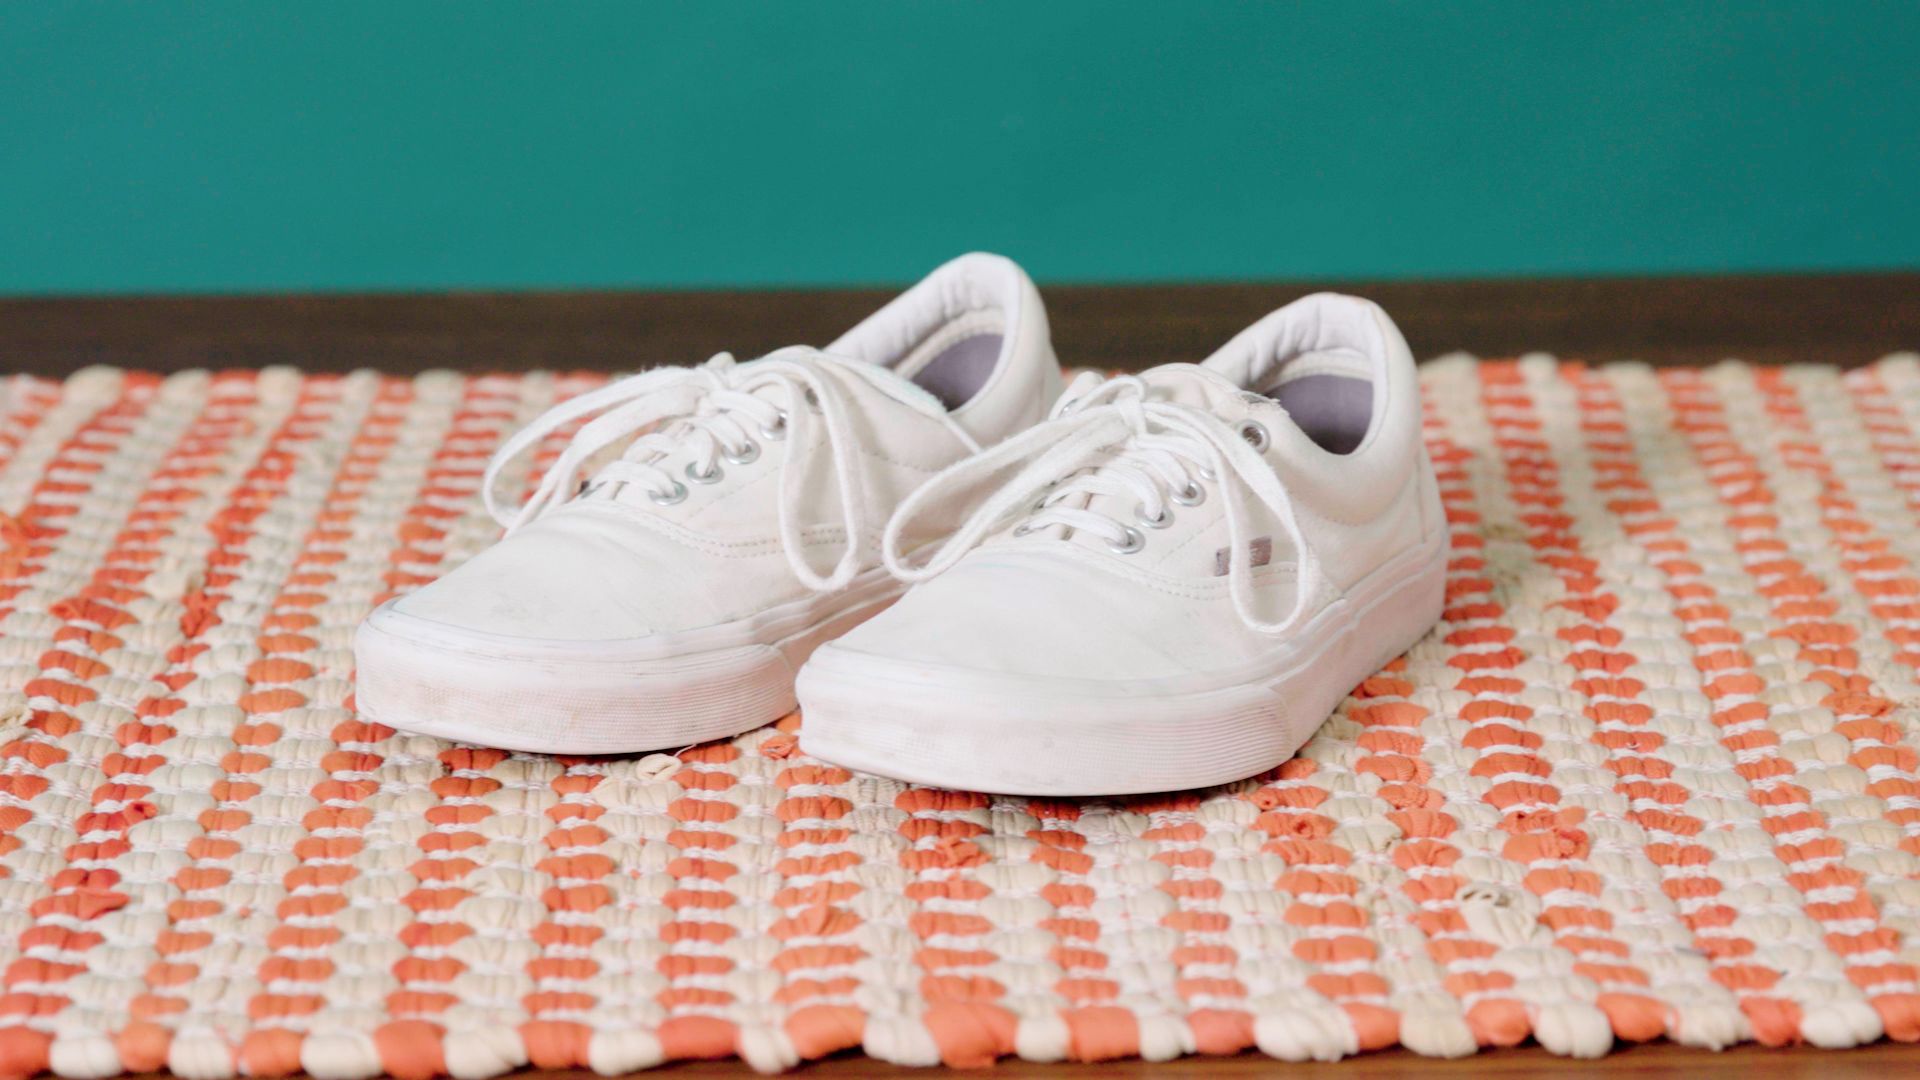
Cleaning and Priming Shoes
Start by cleaning your shoes thoroughly. Use acetone or rubbing alcohol to remove dirt and oils. This step is critical because it helps the paint stick better. After cleaning, apply a primer. The primer acts as a base coat and helps the paint adhere to the shoe material. Allow the primer to dry completely before moving to the next step.
Taping and Protecting Unpainted Areas
Use masking tape to cover areas you don’t want painted. This could include the soles or any logos. Press the tape down well around edges for sharp lines. Cover larger areas with paper or plastic if needed. Taking time to tape and protect your shoes will pay off with clean, professional-looking results once you start painting.
Step-by-Step Painting Process
With your shoes cleaned, primed, and taped, it’s time to dive into the painting itself. Painting shoes can be a fun and rewarding process, but it requires patience and attention to detail. Follow this step-by-step approach to ensure the best results for your acrylic shoe painting project.
Applying Base Coats
Begin by applying a thin base coat of paint using a flat brush. Choose a light color for the base if your design will include multiple layers. Work in smooth, even strokes, covering all the primed areas. Allow the first coat to dry completely before applying a second coat if needed. This is essential for a solid foundation that will support additional details and designs.
Be mindful to avoid applying the paint too thickly. Thick layers may crack or peel over time. A couple of thin coats are preferable to one thick one. Check the paint’s consistency and if it’s too thick, dilute it slightly with water for a smoother application.
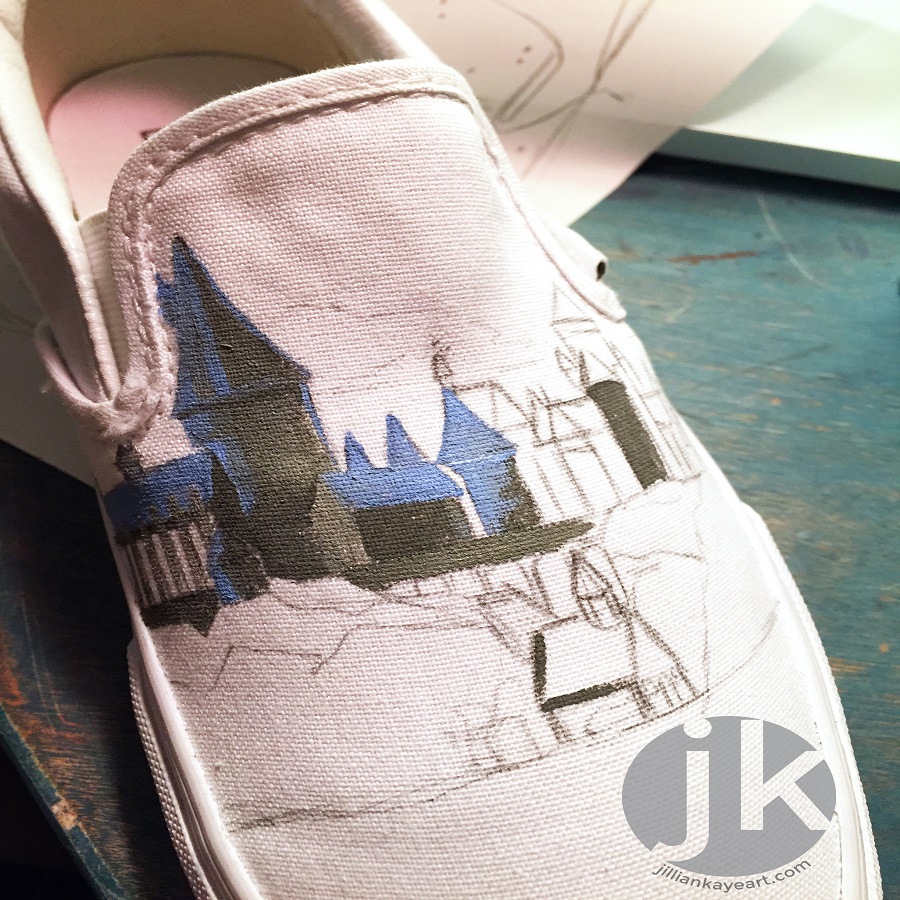
Adding Details and Designs
Once your base coat is dry, it’s time to add your creative touches. Using smaller brushes, you can start to bring your design to life. For intricate designs, consider using a fine-tipped brush or a marker specifically designed for detail work in acrylic painting.
Apply paint carefully and with control, and don’t rush the process. If you make a mistake, wait for the paint to dry before fixing it. Some artists prefer to sketch their designs lightly with a pencil before painting to provide a guide.
Remember to clean your brushes frequently to prevent colors from mixing unintentionally. Also, periodically step back and look at your work from a distance. This can give you a fresh perspective and help you spot areas that may need more detail or correction.
By methodically applying base coats and meticulously adding details and designs, your painted shoes will slowly transform into a unique piece of wearable art. In the next sections, we will explore techniques for blending and layering colors, along with how to seal and finish your shoes for lasting durability.
Techniques for Blending and Layering Colors
Mastering the art of blending and layering colors is key to creating depth and realism in your shoe designs. When you know how to paint shoes with acrylic paint, blending allows colors to merge smoothly, and layering builds up shades and tones for a rich finish. Here are some techniques to help you achieve the desired outcome.
Blending Colors
To blend colors effectively, work while your paint is still wet. Apply a second color near the first and use a clean, damp brush to merge the two together on the shoe. Move the brush back and forth gently to create a gradient effect. For soft transitions, avoid using too much paint on your brush. You can add more as needed to intensify the color.
Layering Colors
Layering is a technique where you apply one color over another after it has dried. This approach allows for more control and precision. Start with lighter colors and gradually add darker ones. Let each layer dry fully before adding the next one. This process can give dimension to your designs, making them pop.
Keep practicing these techniques to enhance your proficiency in creating beautiful, customized shoes with acrylic paint. Remember to keep the paint layers thin and even to prevent cracking.
Sealants and Finishes for Durability
After adding your creative touch to the shoes, it’s important to ensure they last. Sealing your work with the right finisher is vital. This final step will protect your designs from scratches, water damage, and fading.
Choosing the Right Sealant
For durability, choose a sealant that’s flexible and designed for use on painted surfaces. A water-resistant sealer is best for shoes as they’re often exposed to moisture. Look for sealants that mention ‘non-yellowing’ to keep your colors true over time.
Applying the Sealant Correctly
Use a soft brush for applying the sealant to avoid brush marks. Apply a thin coat as evenly as possible. Start from one corner and move to the other. Let the first coat dry, then apply one or two more coats. Each coat should be thin to prevent cracking.
Testing and Curing Time
Test the sealant on a small area first to ensure it does not affect the paint. Allow proper curing time as per the sealant instructions, usually 24 hours. This wait is crucial for the longevity of your painted shoes.
By choosing and applying the right sealant, you can enjoy your artistic work for much longer. Remember, the key is in the preparation, selection, and patient application of the finish to achieve best results. In the next segments, we’ll cover how to care for and maintain your painted shoes, along with tips for fixing common painting issues.
Caring for Your Painted Shoes
Taking care of your painted shoes is essential to keep them looking great. Here’s how to maintain the acrylic artwork on your shoes:
- Avoid Getting Them Wet: Water can damage the paint. Try to keep your shoes dry.
- Clean Gently: Use a soft, damp cloth to clean your shoes. Don’t scrub the painted areas.
- Store Properly: Keep your shoes in a cool, dry place away from direct sunlight.
When you care for your shoes the right way, the paint will last longer. Be gentle with them, especially when they are freshly painted. Allow enough time for the paint and sealant to cure completely. With proper care, your custom shoes will stay beautiful for years to come.
Troubleshooting Common Painting Issues
Even with careful preparation and technique, sometimes you may encounter issues when learning how to paint shoes with acrylic paint. Here are some common problems and how to fix them:
Paint Cracking or Peeling
If paint is cracking or peeling off your shoes, it’s often because the paint layer is too thick. Use thin layers of paint and allow them to dry fully between coats. If cracks appear, gently sand the area, reapply a thin layer of paint, and then reseal.
Colors Not Blending Smoothly
When colors don’t blend well, it’s usually because the paint is drying too quickly. Blend colors while the paint is wet and work fast. You can also use a retarder medium to slow the drying time of acrylic paints.
Paint Not Adhering to the Shoe
If the paint is not sticking, the shoe might not have been cleaned properly. Make sure to clean the shoes with acetone or rubbing alcohol before starting, and apply a primer to help the paint adhere.
Unwanted Brush Strokes
Visible brush strokes can be avoided by using a soft brush and applying the sealant in thin, even layers. Practice smooth, even strokes and don’t overload the brush with paint.
These tips should help you tackle the most common issues faced when painting shoes with acrylic paints. With patience and practice, you’ll be able to create beautiful, lasting designs on your footwear.