Assessing the Fit of Your Leather Shoes
Before learning how to tighten leather shoes, it’s crucial to assess their fit. Ill-fitting shoes can cause discomfort and foot problems. To evaluate fit, use these simple steps:
- Wear your shoes – Walk around your home in the shoes for a few minutes. Notice any slipping or areas with too much space.
- Check heel movement – Your heel should not move much when you walk. Too much movement means the shoes are too big.
- Feel for gaps – Pay attention to gaps between your foot and the shoe. Large gaps indicate a loose fit.
- Press on the shoe’s front – While standing, press down on the front of the shoe. There should be a small space to allow for foot movement.
- Consider socks – Make sure you assess the fit with the socks you’ll typically wear with the shoes.
Once you know how much tightening is needed, you can proceed with methods on how to tighten leather shoes confidently.
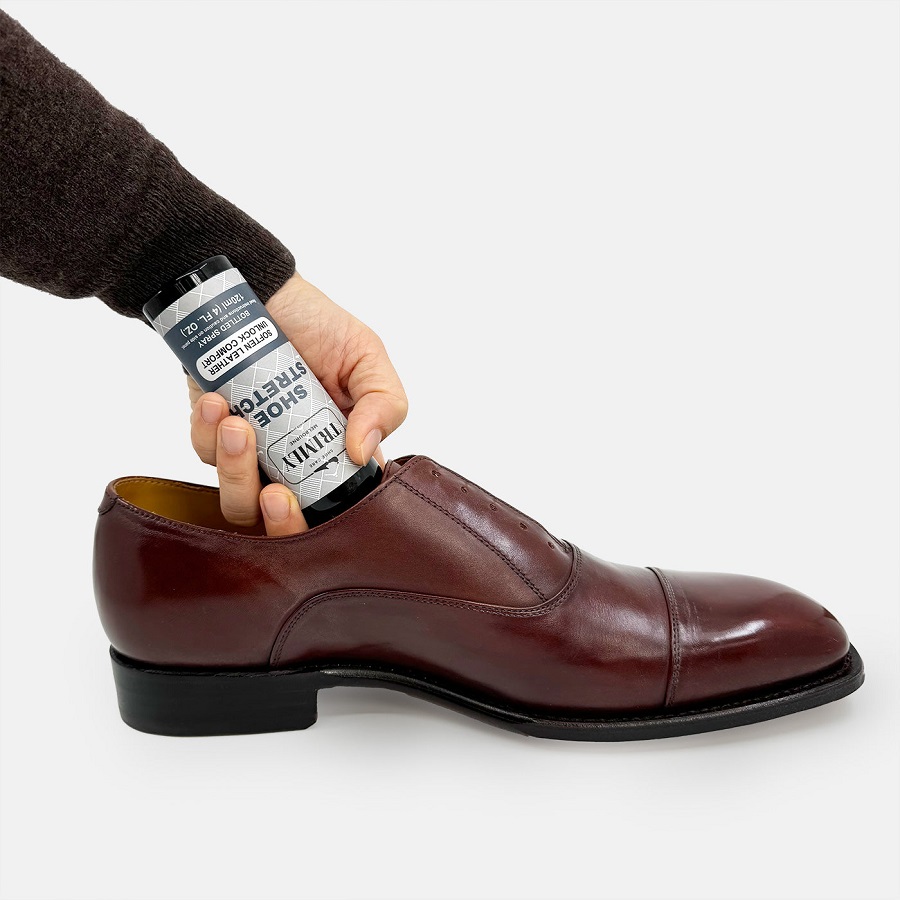
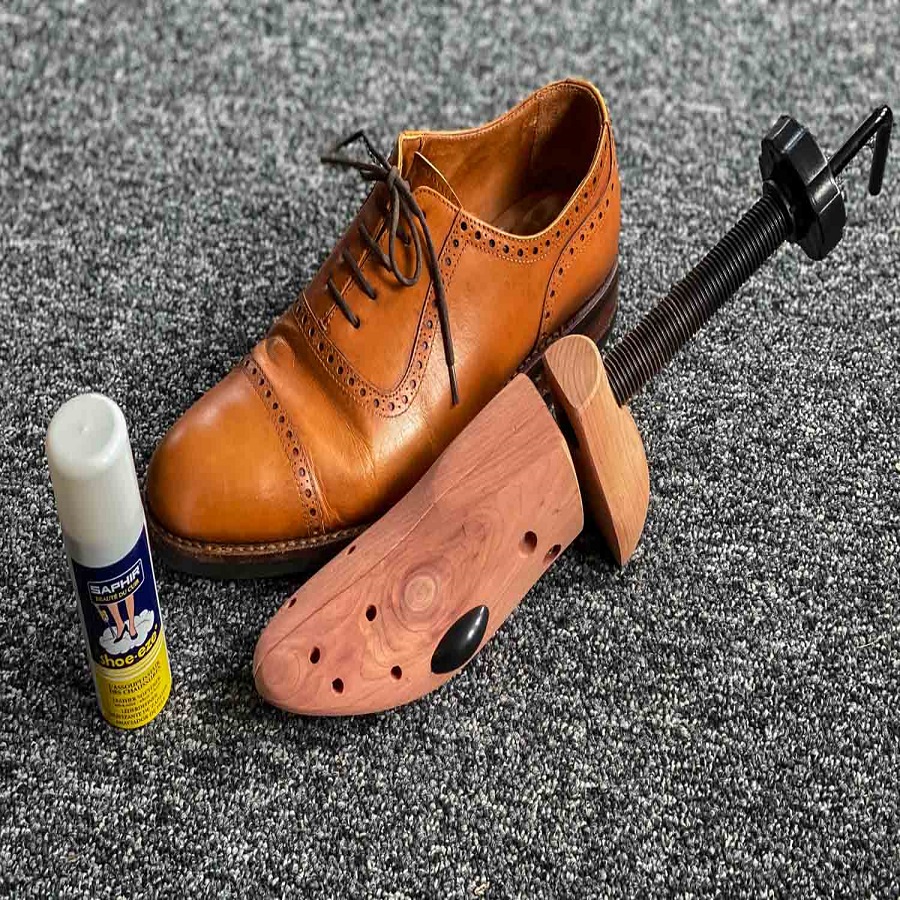
 Materials Needed for Shrinking Leather Shoes
To start the process of tightening your leather shoes, you need to gather the right materials. Having these on hand will ensure you are prepared for either the wet or dry shrinking methods. Here are the essentials:
- Clean cloths: You’ll need these to apply water or to buffer your shoes during the drying process.
- Spray bottle: This is crucial for the wet method. Fill it with water to dampen the shoes evenly.
- Rubbing alcohol: Mix it with water in a spray bottle for a more aggressive shrink.
- Sponge: A sponge can help apply water more precisely to specific areas.
- Hairdryer: For the dry method, a hairdryer helps apply direct heat to shrink leather.
- Thick socks or shoe stretcher: Wearing thick socks or using a shoe stretcher while shrinking can help maintain the shoe’s shape.
- Leather conditioner: After shrinking, apply this to keep the leather supple.
Gather these materials before you start the shrinking process. By doing so, you’ll ensure an efficient workflow. Additionally, knowing how to tighten leather shoes helps protect them from damage during shrinking.
Pre-Shrinking Preparation and Cleaning
Before attempting to tighten leather shoes, adequate preparation and cleaning are vital. This step ensures that the shrinking process goes smoothly, without causing any damage to your shoes.
- Clean Your Shoes: Start by removing any dirt or debris. Use a soft brush or cloth to clean the surface gently. For tougher stains, consider using a specialized leather cleaner.
- Dry Them Thoroughly: If your shoes are wet or damp, allow them to air dry completely before proceeding. Moisture can affect the tightening process.
- Remove Excess Polish: If your shoes have layers of polish, remove this using a cleaner. Too much polish can create a barrier, preventing effective shrinking.
- Condition the Leather: Apply a leather conditioner to help maintain the integrity of the material. This will help keep the leather from drying out or cracking after shrinking.
- Check for Damage: Examine your shoes for any existing damage. Repair any tears or loose seams before shrinking, as the process may exacerbate these issues.
By following these simple pre-shrinking steps, your leather shoes will be clean and ready for either the wet or dry shrinking method you choose to apply. Remember, taking care of leather shoes before tightening will extend their life and improve overall appearance.
The Wet Method: Shrinking with Water
The wet method is a popular approach on how to tighten leather shoes. It involves dampening the shoes with water and allowing them to dry to the contour of your feet. To get started, follow these steps:
- Dampen the Shoes: Use a spray bottle filled with room-temperature water. Spray the shoes evenly until they are slightly damp, not soaking wet.
- Focus on Larger Areas: Pay attention to the parts that are too loose. Apply more water to these sections.
- Wear Thick Socks: Put on a pair of thick socks before wearing the dampened shoes. This helps the leather mold to your feet.
- Walk Around: With the shoes on, walk around to help them shape to your feet. This ensures a better fit as they dry.
- Air Dry: Remove the shoes and let them air dry naturally. Avoid direct sunlight or heat sources that can damage the leather.
- Repeat if Necessary: If the shoes are still not tight enough, repeat the process. Be patient as multiple sessions may be needed.
With the wet method, it’s essential to go slowly and not over-wet the leather, as this can cause damage. Remember to use leather conditioner afterwards to keep the leather soft and prevent cracking.
The Dry Method: Using Heat to Shrink Leather
For those who prefer not to wet their shoes, the dry method is a great alternative. This technique uses heat to tighten leather shoes. Here’s what you’ll need to do:
- Heat Your Shoes: Use a hairdryer on a medium setting. Heat the areas of the shoes that are loose. Keep the hairdryer about 6 inches away from the leather to prevent damage.
- Move Constantly: Move the hairdryer back and forth. Do not focus on one spot for too long. This ensures the leather heats up evenly.
- Wear Thick Socks: After heating, quickly put on thick socks and wear the shoes. The warmth will make the leather more pliable as it forms to your feet.
- Walk Around: Take a few minutes to walk in the shoes. This helps create a perfect fit as the leather cools and contracts.
- Let Them Cool: Remove your shoes and let them cool down at room temperature. Make sure to keep them away from direct sunlight and heat sources.
- Repeat as Needed: If your leather shoes are not tight enough, you can repeat the process. Always check the shoes’ condition between sessions to avoid over-shrinking them.
Using the dry method requires you to monitor the leather closely. You want to avoid over-drying or burning the material. To finish, apply a leather conditioner to nourish the leather after heat treatment. This step is crucial in preventing your leather shoes from drying out or cracking.
 Tips for Even Shrinking and Preventing Damage
To achieve a uniform fit and prevent potential harm to your leather shoes during the shrinking process, consider these tips:
- Heat Gradually: When using heat, increase the temperature slowly to avoid creating weak spots.
- Even Application: Whether wetting or heating, apply evenly to prevent uneven shrinking.
- Don’t Rush: Take your time with the method you’ve chosen. Rushing can lead to mistakes and damage.
- Room Temperature Water: If using the wet method, room temperature water is less shocking to the leather than hot water.
- Test First: Try the method on a small, less visible area to test the shoe’s reaction.
- Monitor Progress: Keep an eye on the shoes as they shrink. Stop immediately if you notice any damage.
- Rest Between Sessions: Allow the shoes to rest between shrinking sessions to avoid stressing the leather.
- Use Conditioner: After each session, apply a leather conditioner to keep the material supple.
- Know Your Leather: Different leathers react differently. Familiarize yourself with your shoe’s leather type.
By following these tips, you can tighten your leather shoes effectively without compromising their quality or durability. Always remember that it’s better to shrink slowly and cautiously than to damage your shoes irreparably.
Maintaining the Fit: Post-Shrinking Care
After shrinking your leather shoes, proper care is critical to maintain their fit. Here are steps to keep them in good shape:
- Let Them Rest: After any tightening process, give your shoes time to rest. This helps set the new shape.
- Use Shoe Trees: Insert shoe trees when you’re not wearing the shoes. They help retain the shape and absorb moisture.
- Condition Regularly: Apply leather conditioner to keep the leather soft and prevent cracks.
- Store Properly: Keep your shoes in a cool, dry place. Avoid heat and direct sunlight to prevent stretching and fading.
- Wear Them Often: Regularly wearing your shoes will help them mold to your feet. But give them a day to rest between wears.
- Check Fit Periodically: As leather adapts to your feet, reassess the fit over time. This ensures that they remain snug.
By following these post-shrinking care steps, you can enjoy a tailored fit for a long time. Keep using these practices to safeguard the life of your leather shoes.
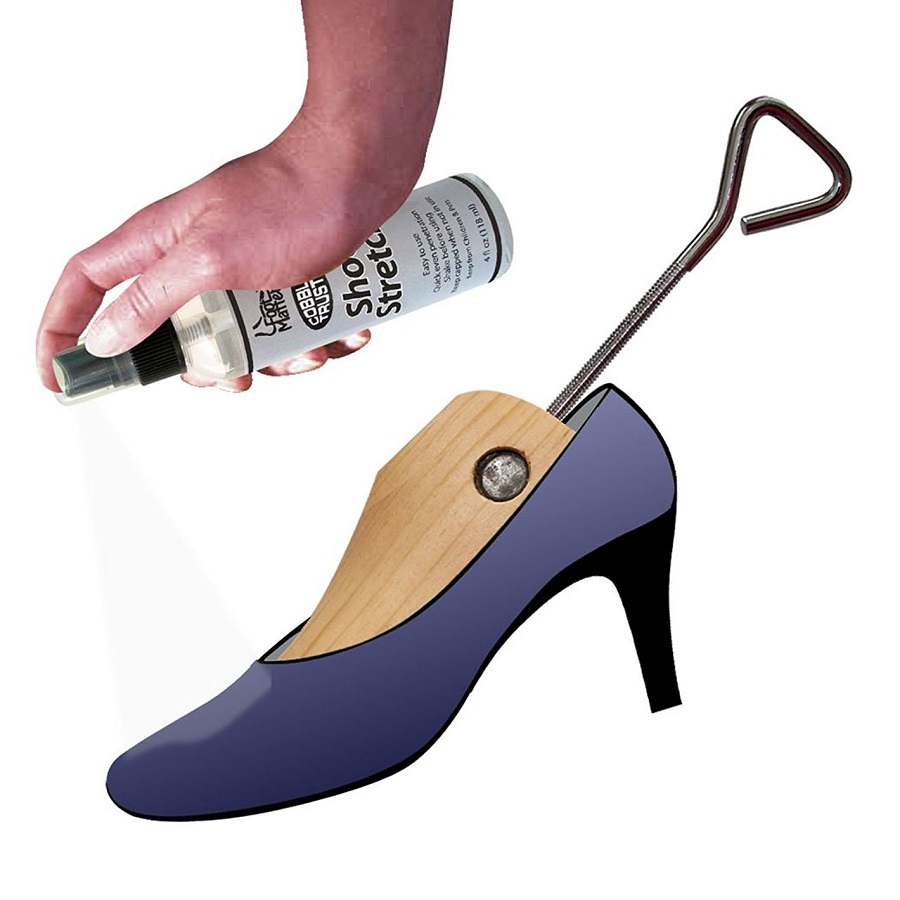
Alternative Methods: Shoe Inserts and Professional Services
If the wet and dry methods don’t fully resolve your loose-fitting shoes, alternative approaches are available. Shoe inserts and professional services offer additional solutions to ensure a snug fit.
Shoe Inserts: An Immediate Solution
They come in various forms, such as insoles, heel liners, and tongue pads. Insoles can offer extra padding, filling out the shoe for a better fit. Heel liners prevent your foot from slipping out, and tongue pads decrease space in the upper part of the shoe. They are easy to use: simply stick them inside the shoe where needed.
Measure your feet to choose the right size. This prevents overcorrection and maintains comfort. Inserts are also a great temporary fix while you explore more permanent solutions.
Professional Services: Quality and Expertise
Seeking help from a professional cobbler or shoe repair service can yield excellent results. Cobblers possess the skills to alter shoes precisely and safely. They can tighten leather by stitching, stretching, or adding material.
Discuss with a cobbler what you need. They can assess your shoes and suggest the best course of action. While this option may cost more, their expertise can ensure a perfect fit without damage to your shoes.
Whether you choose shoe inserts for a quick fix or professional services for a tailored approach, alternatives exist beyond DIY methods. Always weigh convenience, cost, and your specific needs when deciding how to tighten leather shoes.