Identifying When Leather Shoes Need Shrinking
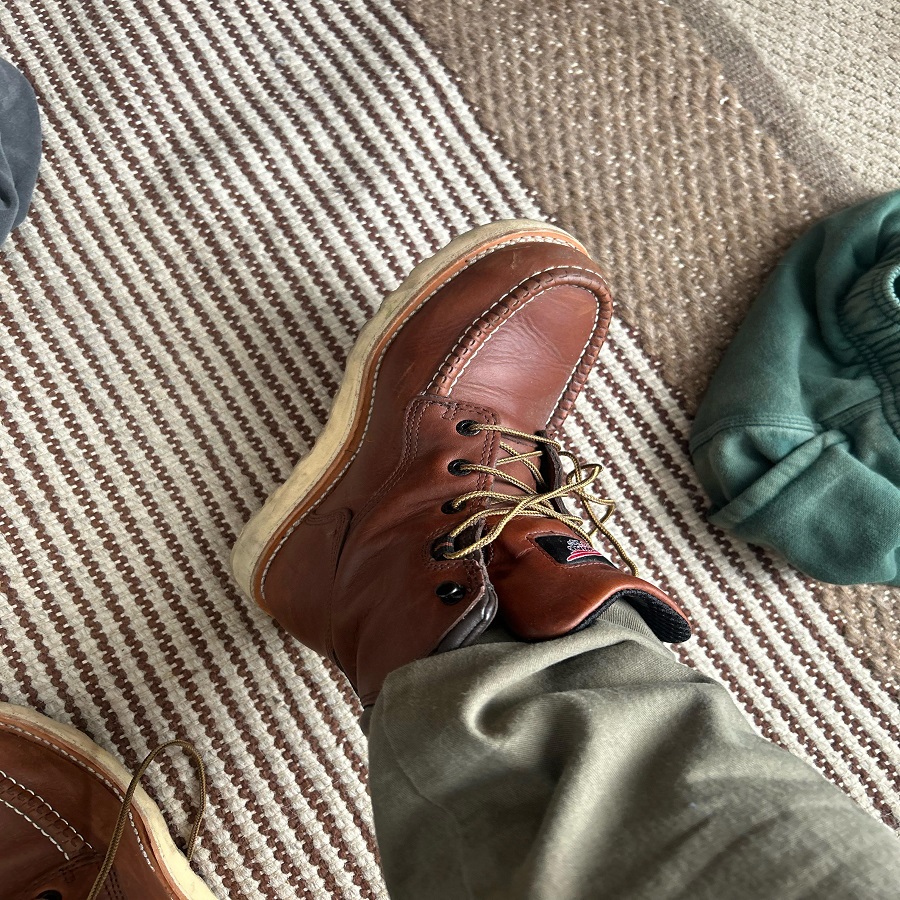
Identifying the need to shrink your leather shoes is the first critical step in this process. There are several signs that show your shoes may be too loose. If your feet slide around inside the shoes or if there’s noticeable space around the heel, shrinking may be necessary. Also, if you’ve noticed that your leather shoes have stretched over time, it might be due to natural wear or exposure to wet conditions. Another key indicator is discomfort while walking, something that can result from a lack of proper fit. Before attempting any shrinking methods, it’s essential to assess whether your leather shoes truly require it. This avoids the risk of over-shrinking and potentially damaging your footwear.
 Different Methods for Shrinking Leather Shoes
When it comes to shrinking leather shoes, there are a few tried-and-true methods you can use. Depending on your preference and the supplies you have on hand, you might choose one over the others. It’s important to understand each technique to select the most appropriate for your needs.
Using Water for Controlled Shrinking
Water can effectively cause leather to contract. To shrink your shoes with water, start by dampening the leather. Use a spray bottle to mist the surface lightly, making sure it’s evenly wet. Not soaked. After, let the shoes dry naturally or use a fan to speed up the process. Monitor them closely to prevent over-shrinking.
Applying Heat – The Hair Dryer Technique
Heat can also shrink leather. For this, you’ll need a hair dryer. Begin by putting on thick socks, then your leather shoes. Aim the hair dryer on the areas that need shrinking. Keep it moving to avoid overheating any spot. The heat helps mold the leather to a tighter fit as it cools down. Remember to keep the dryer on a medium setting and not to use it for too long.
Alcohol or Acetone Solutions for Shrinking
Alcohol or acetone can be powerful agents for shrinking leather shoes. Mix a solution of equal parts water and rubbing alcohol or acetone. Apply this to the inside of the shoes using a cloth. Once applied, the shoes should be placed in a warm, well-ventilated area to dry. After drying, the alcohol or acetone will have caused the leather to tighten, resulting in a smaller size. Use this method with caution, as it may dry out or damage the leather if overused.
Preparing Your Leather Shoes for Shrinking
Before you start the shrinking process, preparation is key. Properly preparing your leather shoes ensures that they shrink evenly and reduces the risk of damage. Here’s how to prep your shoes for shrinking:
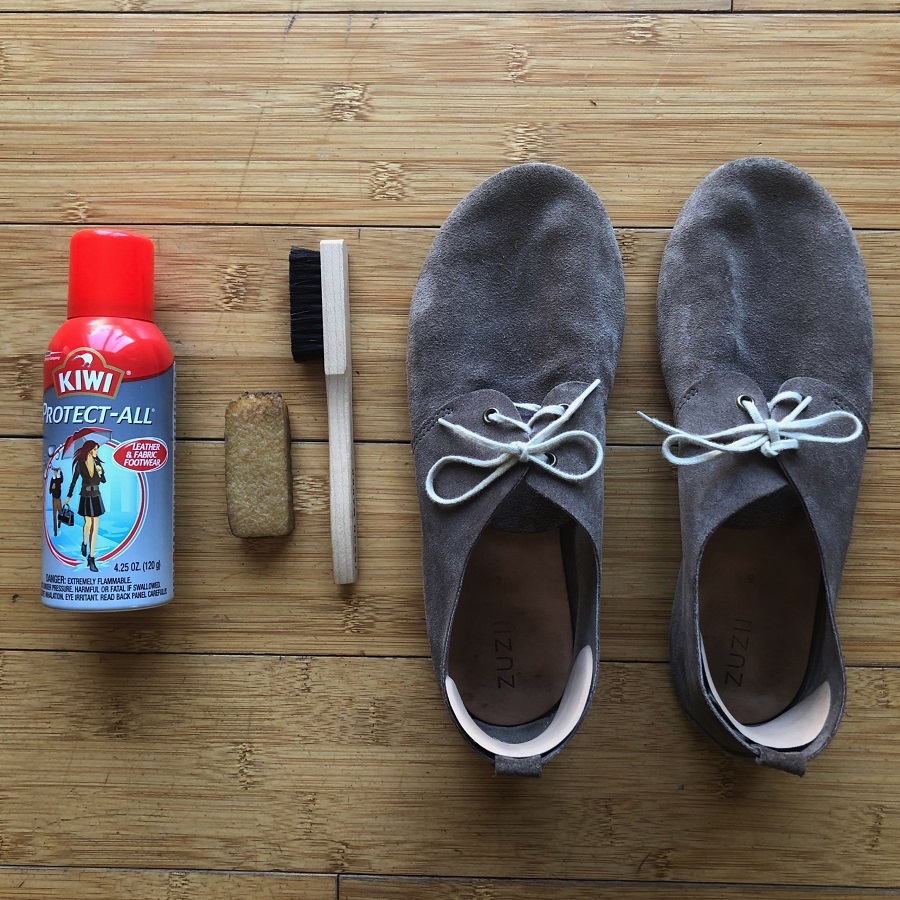
- Clean the Leather: Start by cleaning your leather shoes. Remove any dirt or debris, as it could affect how the shoe absorbs the shrinking treatment. Use a soft cloth and leather cleaner for the job.
- Condition the Leather: After cleaning, apply a quality leather conditioner. This helps maintain the leather’s flexibility and prevents it from drying out during the shrinking process.
- Remove Excess Moisture: Ensure your shoes are not overly wet from cleaning or conditioning. Excess moisture could lead to uneven shrinking, so let them dry completely before continuing.
- Test Areas: Consider testing the shrinking method on a less visible area of the shoe first. This will give you an idea of how the leather will react without altering the overall appearance.
- Gather Materials: Finally, make sure you have all the necessary tools at hand. Depending on the method you’ve chosen for shrinking your leather shoes, you may need a spray bottle, a hair dryer, a solution of alcohol or acetone, thick socks, and a fan for drying.
By following these preparation steps, your leather shoes will be ready for a successful shrinking process, leading to a more comfortable and improved fit.
Step-by-Step Process of Shrinking Your Leather Shoes
Once you have prepared your leather shoes following the outlined steps, it’s time to start the shrinking process. This section walks you through each phase, ensuring you get the best fit possible from your leather footwear.
Dampening the Leather
Begin by evenly spraying your clean and conditioned leather shoes with water. Use a spray bottle for a controlled application. Aim to moisten the leather without soaking it. Wetting the shoes too much might cause over-shrinking or damage. Make sure you cover each section that requires shrinking.
Applying Heat Carefully
After dampening, put on the shoes with thick socks to protect your feet and provide form. Use a hair dryer on a medium heat setting. Direct the airflow to areas needing to shrink. Move the dryer constantly to avoid overheating or damaging the leather. The heat will cause the leather to conform to your feet, thus shrinking it.
Using Stretchers and Forms to Maintain Shape
While your shoes are still warm and malleable, insert shoe stretchers or forms. This step is crucial as it helps maintain the structure of the shoe and prevent over-shrinking. Adjust the stretchers to fit snugly inside the shoes. This technique also helps ensure the shoes dry evenly and reduces the risk of the leather warping or becoming misshapen.
Follow these steps carefully, and you can achieve a more comfortable and secure fit for your leather shoes, effectively shrinking them to your desired size.
Aftercare: Maintaining the Fit of Shrunk Leather Shoes
Successfully shrinking your leather shoes is just the first part of the process. Aftercare is vital in maintaining their shape and ensuring the fit remains comfortable. Here’s how you can preserve the new size of your shoes:
- Condition the Leather Regularly: Once shrunk, leather can feel tighter and may need extra moisture. Use a leather conditioner to keep the material soft and prevent cracking.
- Avoid Excessive Heat and Moisture: Heat and moisture caused your shoes to shrink; they can also make them expand again. Keep your shoes in a cool, dry place, away from direct heat sources.
- Wear Them Gradually: Allow your feet to adjust to the new fit. Start by wearing the shoes for short periods and gradually increase the time.
- Use Shoe Trees: When not wearing your shoes, insert cedar shoe trees. They help maintain shape, absorb moisture, and keep the leather smelling fresh.
- Monitor for Stretching: Leather may stretch out slightly over time. Watch for signs of loosening and reapply the shrinking technique if necessary, carefully to avoid over-shrinking.
By attending to these aftercare steps, you preserve the life of your leather shoes while enjoying a better fit.
Troubleshooting Common Issues During Leather Shoe Shrinking
When shrinking leather shoes, you might face some challenges. Below are common problems and how to solve them:
- Leather Cracking or Drying Out: If your shoes become dry or start to crack, it means they need moisture. Apply leather conditioner to rehydrate the leather.
- Uneven Shrinking: This happens if one area dries faster than others. To prevent it, ensure even drying. Rotate your shoes and check them as they dry.
- Shoes Too Tight After Shrinking: Wear your shoes around the house with thick socks to gently stretch them.
- Leather Losing Color: Some methods may lighten the leather. Use a leather dye to restore the original hue.
- Over-shrinking: If shoes shrink too much, use a shoe stretcher. Keep it in the shoes for 24-48 hours to gently expand the leather.
- Wrinkles or Deformities: Insert shoe trees right after the process. They help maintain shape and smooth out wrinkles.
- Shrinking Does Not Last: Leather might stretch back out with wear. Repeat the shrinking process, but with extra care to not overdo it.
Dealing with these issues promptly ensures your leather shoes remain a perfect fit.
Professional Services vs. DIY for Leather Shoe Shrinking
When it comes to shrinking leather shoes, you have two main options: professional services or DIY. Making the right choice depends on your confidence in handling leather, the value of your shoes, and your budget.
The Benefits of Professional Services
Seeking professional help for shrinking leather shoes can offer several advantages:
- Expertise: Professionals have the skills to shrink shoes without damaging them.
- Equipment: They use specialized tools for even results.
- Time-saving: Leaving the task to experts frees up your time.
- Guarantee: Many services provide a satisfaction guarantee.
Why Consider DIY?
Opting for a DIY approach also has its perks:
- Cost-effective: You can save money by doing it yourself.
- Control: You have full control over the shrinking process.
- Convenience: You can shrink your shoes at home, on your schedule.
- Learning: It’s an opportunity to learn more about leather care.
Before deciding, weigh the value of your shoes against the risks. If your shoes are expensive or sentimental, professional help might be the safer bet. On the other hand, if you’re comfortable with the process and have the time, DIY can be a satisfying endeavor. In any case, never underestimate the importance of following the steps exactly as described and take your time with each method to ensure the best results when shrinking leather shoes.