The Importance of Shoe Resoling
Resoling your shoes can breathe new life into them. It is a valuable skill, saving both money and time. Understanding how to resole shoes is not just economical. It also extends the durability of your favorite footwear. With the right renewal, shoes can last for years. This makes shoe resoling not only practical but also eco-friendly. It keeps shoes out of landfills longer.
Properly resoled shoes offer more than just a refreshed look. They provide improved comfort and support. A worn-out sole affects how you walk. It contributes to foot and back pain. A new sole can correct this, boosting overall foot health. In terms of fashion, resoled shoes show you take pride in maintaining your belongings. This attention to detail can leave a positive impression. It speaks to a sense of responsibility and care.
Resoling also allows for customization. You can choose a new tread pattern or sole material. This can enhance the shoe’s functionality for specific activities. For instance, a more aggressive tread improves grip for outdoor adventures. A softer sole might be better for urban walking. The process of resoling makes your shoes more versatile. This is invaluable to an active lifestyle.
In conclusion, resoling shoes is about more than fixing a worn sole. It’s about value, sustainability, and personalization. These benefits highlight why learning how to resole shoes is a worthwhile investment.
 Signs That Your Shoes Need Resoling
Knowing when to resole your shoes is key to maintaining them. Here are the tell-tale signs:
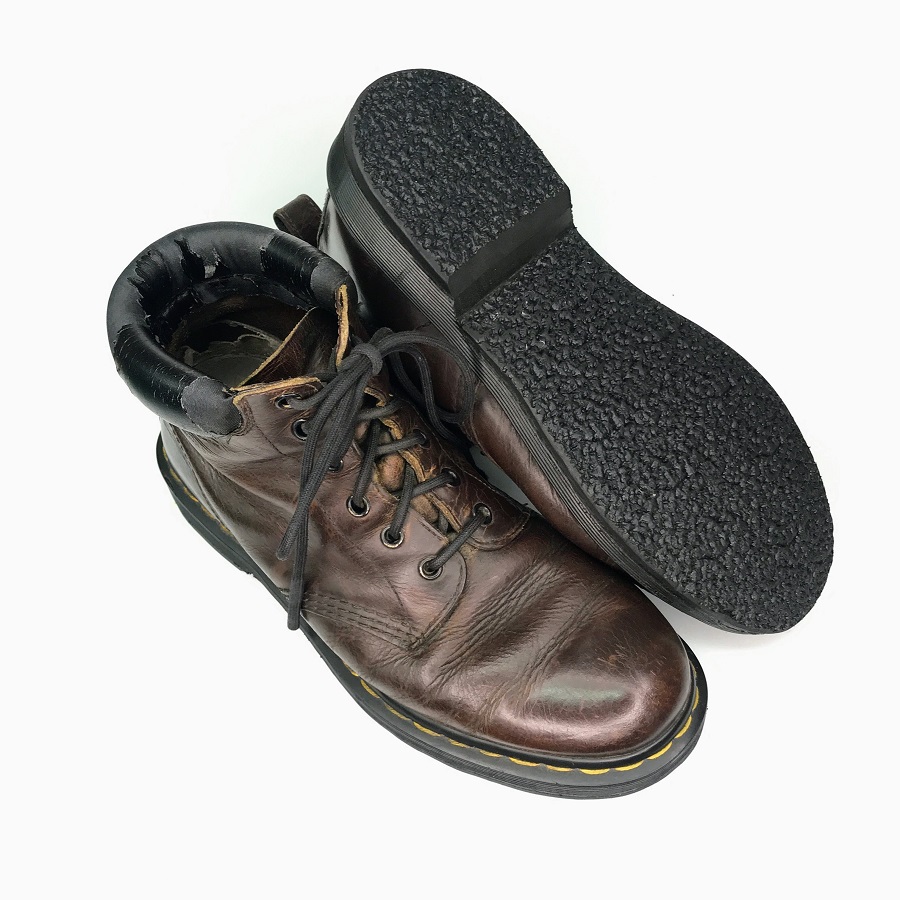
- Uneven Wear: Examine the soles. If they show uneven wear patterns, it’s time for a resole.
- Holes and Gaps: Are there visible holes or gaps in the sole? Don’t wait; they need resoling.
- Thin Treads: Check the depth of the tread. Thin or smooth treads reduce grip and signal the need for a new sole.
- Discomfort: Feeling discomfort or pain while walking? It might be due to a worn sole.
- Detachment: Parts of the sole coming off? This is a clear sign that you need a resole.
- Water Damage: If soles let water in, it’s a surefire sign the barrier is compromised.
- Sounds: Listen for unusual sounds when walking. A flapping or clicking noise often means the sole is loose.
If your shoes show any of these signs, consider resoling. Doing so can prevent further damage. It can also keep your favorite pair comfortable and functional. Remember, how to resole shoes is not a mystery. We’ll guide you through each step to ensure successful resoling at home.
Materials Needed for Resoling Shoes
Before you start the resoling process, gather all the necessary materials. A successful DIY resoling job depends on having the right tools and components at hand. Here’s what you’ll need:
- New Soles: Choose quality replacement soles that match your shoe’s size and style.
- Shoe Glue: A strong, flexible adhesive designed specifically for shoe repair.
- Utility Knife: To remove the old sole and trim the new one.
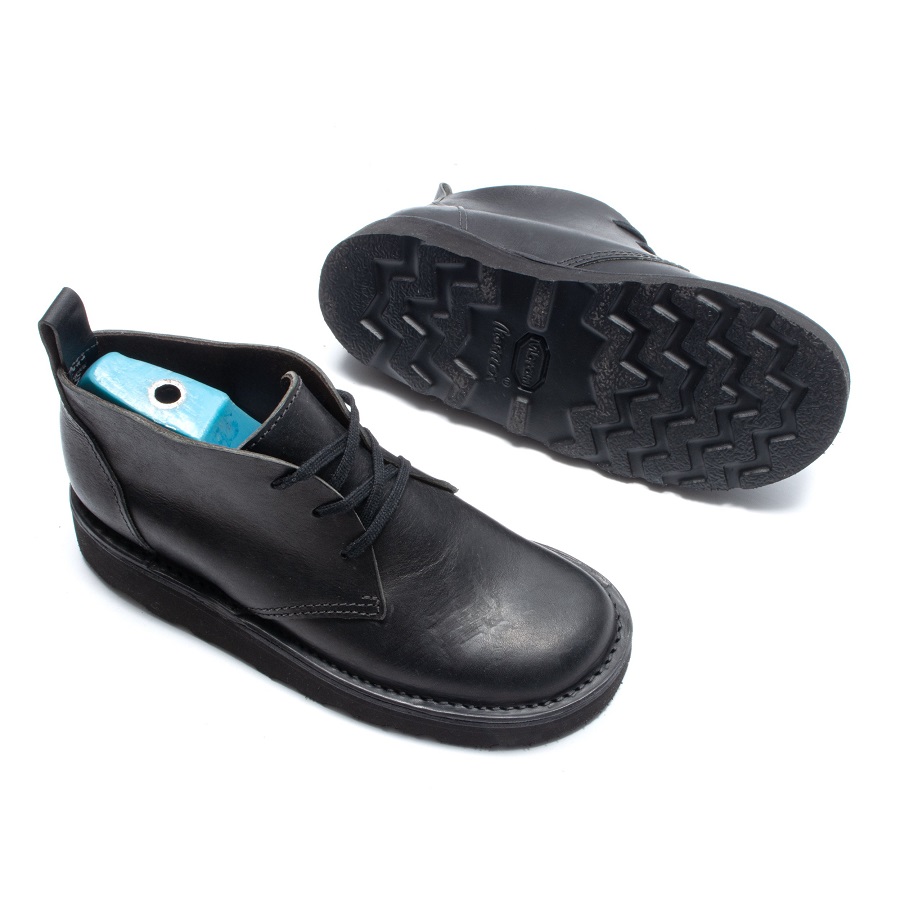
- Shoe Last: Preferable, to maintain the shape of your shoe during resoling.
- Sandpaper: To roughen surfaces for better glue adhesion.
- Brush or Cloth: For cleaning the shoe and applying the glue evenly.
- Heavy-Duty Needles: For stitching, if your shoe requires it.
- Thread: Durable thread, preferably nylon, for sewing the new sole if needed.
- Pliers: To pull out old stitching or nails from the shoe.
- Hammer: Sometimes necessary for securing the new sole into place.
By preparing these items ahead of time, you’ll ensure a smooth and efficient resoling process. Each tool contributes to the precision and durability of your resoled shoes. Remember, how to resole shoes is not complicated, but working with the right materials is crucial for longevity and comfort.
Preparing Your Shoes for Resoling
Before diving into the process of resoling, preparing your shoes is critical. This ensures a smoother experience and better results. Let’s go step by step to get your shoes ready for their renewal.
Clean Your Shoes: Any dirt or debris on your shoes can interfere with the adhesive. Use a brush or cloth to thoroughly clean the surface where the new sole will attach.
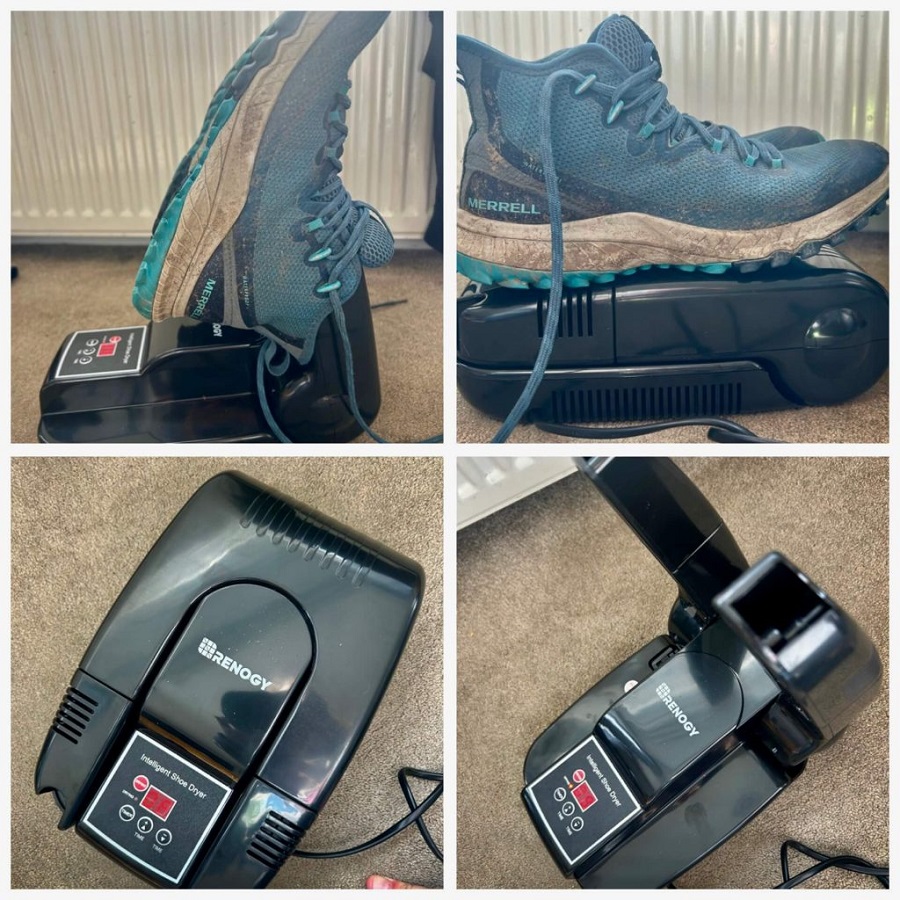
Dry Your Shoes: If your shoes are wet or damp, allow them to dry completely. Moisture can weaken the bond between the new sole and the shoe.
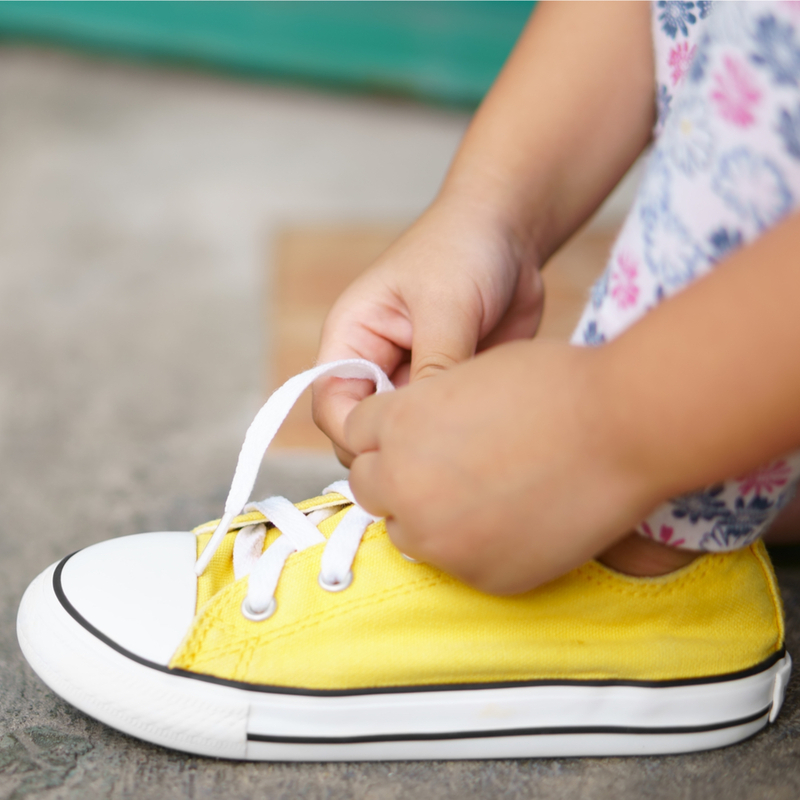
Remove Laces and Insoles: Take out any removable parts like laces and insoles. This will give you more room to work with and protect them from glue or other materials.
Inspect the Damage: Look closely at the old sole to assess the wear. This will give you an idea of the scope of work needed.
Secure Your Work Area: Make sure you have a clean, flat surface to work on. Protect it with newspapers or a drop cloth to avoid any mess from glue spills.
By following these simple steps, you lay the groundwork for a successful resoling job. Now, with your shoes prepped, you’re ready to tackle the next stage: removing the old sole. Remember, knowing how to resole shoes starts with good prep work!
Removing the Old Sole
Removing the old sole is a critical step in how to resole shoes at home. Here’s how to do it properly:
- Heat the Old Sole: Apply gentle heat to the old sole using a hairdryer. This softens the glue, making it easier to remove.
- Use a Utility Knife: Carefully slide a utility knife between the old sole and the shoe body. Take care not to damage the shoe.
- Pry the Sole Away: Start at the heel and work your way forward. Use slow, steady pressure to lift the old sole off.
- Clear Remaining Glue: Scrape away any glue residues with the knife or sandpaper. A clean surface is vital for the new sole to adhere.
- Inspect the Bottom: Make sure there are no holes or damages. If you find any, repair them before proceeding.
Take your time with each step. Rushing may lead to mistakes or damage to your shoes. With the old sole removed, you are one step closer to giving your shoes a new life. Remember, learning how to resole shoes means being patient and careful with each step.
Selecting and Preparing the New Sole
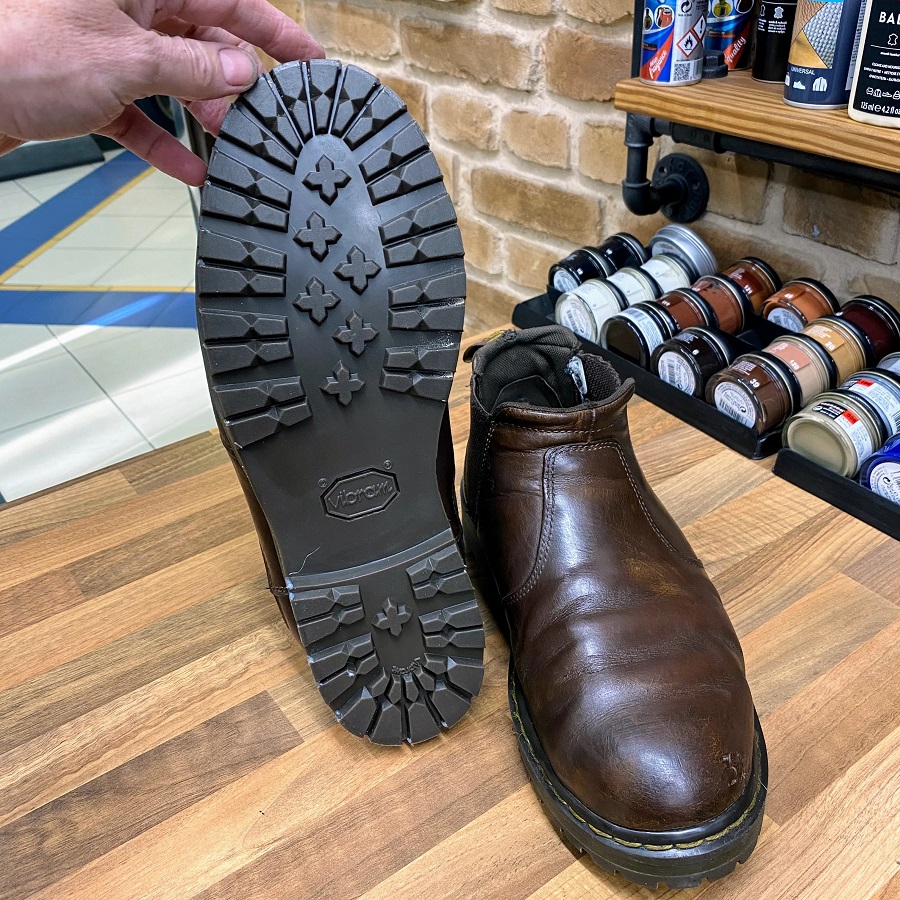
Choosing the right new sole is crucial for your resoling project. Look for a sole that matches your shoe’s style and offers the functionality you need. Consider the material — rubber is durable and provides good traction; leather is classic and works well for dress shoes. Ensure the sole size is correct for a perfect fit.
Measure Accurately: Use the old sole as a template or measure your shoe’s footprint. This ensures the new sole won’t be too large or small. Cut to fit if necessary, using sharp scissors or a utility knife.
Select Quality: Opt for high-quality soles for durability and comfort. Cheap materials wear out faster and offer less support.
Consider Activity: Think about your usual activities. Pick a tread pattern that suits your daily walk, work, or play.
After selecting the right sole, it’s time to prepare it for attachment. New soles often have smooth surfaces that need roughening for better glue adhesion. Use sandpaper to gently roughen the side that will attach to your shoe. Wipe it clean to remove any dust. Now, the new sole is ready for the next step: attaching it to your shoe. Remember, knowing how to resole shoes involves careful selection and preparation of new soles.
Attaching the New Sole
Securing the new sole to your shoe is a pivotal moment in the resoling process. With the new sole prepped and ready, it’s time to move forward with attachment. Here’s a simple step-by-step to guide you through this stage:
- Apply Shoe Glue: Employ a brush or cloth to spread a generous layer of shoe glue evenly on the prepped underside of your shoe. Do the same on the roughened side of your new sole.
- Wait for the Glue: Allow the glue to become tacky before joining the surfaces. This usually takes a few minutes. Refer to the glue instructions for the exact time. Patience here is key for strong adhesion.
- Position the New Sole: Carefully align the new sole to the bottom of your shoe. Press firmly, starting from the heel, moving towards the toe. Make sure there are no gaps or misalignments.
- Apply Pressure: Once in place, press down hard on the entire sole. Use your body weight for even pressure. You can also walk in the shoes gently to ensure a tight bond.
- Trim Excess Material: If the new sole extends beyond the shoe’s edge, trim it. Use a sharp utility knife for a clean cut. Work slowly and follow the shoe’s shape.
- Let It Cure: Leave the shoes undisturbed for the glue to cure. This may take several hours or overnight, so plan accordingly.
With the new sole solidly attached, your shoes are nearly ready for action. A successful attachment is about precision and patience. The goal is a sole that feels firmly part and parcel of your shoe. Learning how to resole shoes at home can be straightforward if you follow these clear steps. In the next section, we will cover the finishing touches to ensure your resoled shoes look and feel great.
Finishing Touches for Resoled Shoes
With your new sole attached, the resoling process is almost complete. However, several finishing touches are necessary to ensure your shoes are comfortable, functional, and aesthetically pleasing. Here’s what you need to do:
- Check the Alignment: Inspect the alignment of the new sole to ensure it matches the shape of your shoe perfectly. Make any minor adjustments quickly before the glue sets fully.
- Smooth the Edges: If any rough edges remain after trimming, use sandpaper to smooth them out. Be gentle to avoid damaging the shoe’s upper material.
- Clean Up: Wipe away any excess glue from the shoe surface. A damp cloth can help clean up any residue, leaving a neat finish.
- Inspect for Gaps: Look for any gaps between the new sole and the shoe body. If you spot any, apply additional glue and press firmly to seal.
- Curing Time: Give your shoes enough time to cure completely. Avoid wearing them for the recommended period, usually 24 hours, to ensure the glue bonds strongly.
- Testing: After the curing period, test your resoled shoes on a carpeted surface. Listen for any unusual noises that might indicate a problem with the new sole.
- Reinsert Insoles and Laces: Once you’re satisfied, put back the insoles and re-lace your shoes. They are now ready to wear.
By carefully following these steps, you give your newly-resoled shoes the best chance of lasting longevity and improved performance. Remember, knowing how to resole shoes also means paying attention to all the details, right through to the finish.
Tips for Maintaining Your Resoled Shoes
After resoling your shoes, keeping them in top shape is essential. Here are simple tips to follow:
- Inspect Regularly: Check your soles often for signs of wear. Catch issues early to prevent damage.
- Clean Frequently: Dirt can speed up wear and tear. Clean your shoes after each use, focusing on the soles.
- Dry Properly: Never rush the drying process. Avoid heat sources. Let shoes dry naturally.
- Use Protector Sprays: Water and stain repellents can extend the life of your soles. Apply as directed.
- Rotate Shoes: Don’t wear the same pair every day. Alternating shoes can reduce the strain on soles.
- Store Correctly: Keep shoes in a cool, dry place. Use a shoe tree to hold their shape.
- Avoid Harsh Surfaces: Whenever possible, stay off rough terrain that can quickly wear down soles.
Following these tips will help maintain your resoled shoes and prolong their life. Remember, consistent care is key when you know how to resole shoes.
When to Consider Professional Resoling Services
Even with a thorough step-by-step guide on how to resole shoes, some situations call for professional services. Not all resoling jobs are fit for the DIY approach. Here are instances when expert help is the best choice:
- Complex Shoe Structures: If your shoes have intricate designs or construction, a professional can ensure proper restoration.
- High-Value Footwear: For expensive or designer shoes, professional resoling may keep their value intact.
- Lack of Tools or Skills: If you’re missing the necessary tools or are unsure of your skills, it’s safer to go pro.
- Specialized Materials: Certain soles made of unique materials might need specific techniques that professionals know best.
- Warranty Concerns: Some shoes come with a warranty that could be voided by DIY repairs. Check your terms before starting.
- Time Constraints: If you’re short on time, a professional can get the job done quickly without the learning curve.
In these cases, the extra cost of professional resoling services is a worthwhile investment. Pros have the right tools, skills, and experience. They make resoling seamless and can even provide a warranty for their work. Remember, knowing how to resole shoes includes recognizing when to call in the experts.