Sewing pointe shoes is a critical skill for ballet dancers, ensuring a secure and comfortable fit during performance and practice. Properly sewn pointe shoes provide the necessary support and stability, minimizing the risk of injury. Consequently, understanding the steps to sew pointe shoes correctly is essential for optimal foot health and performance. Therefore, this comprehensive guide explores the tools and materials needed, detailed sewing steps, tips for customizing the fit, and maintenance practices. By delving into these aspects, you can confidently sew your pointe shoes and enhance your ballet experience.
Tools and Materials Needed
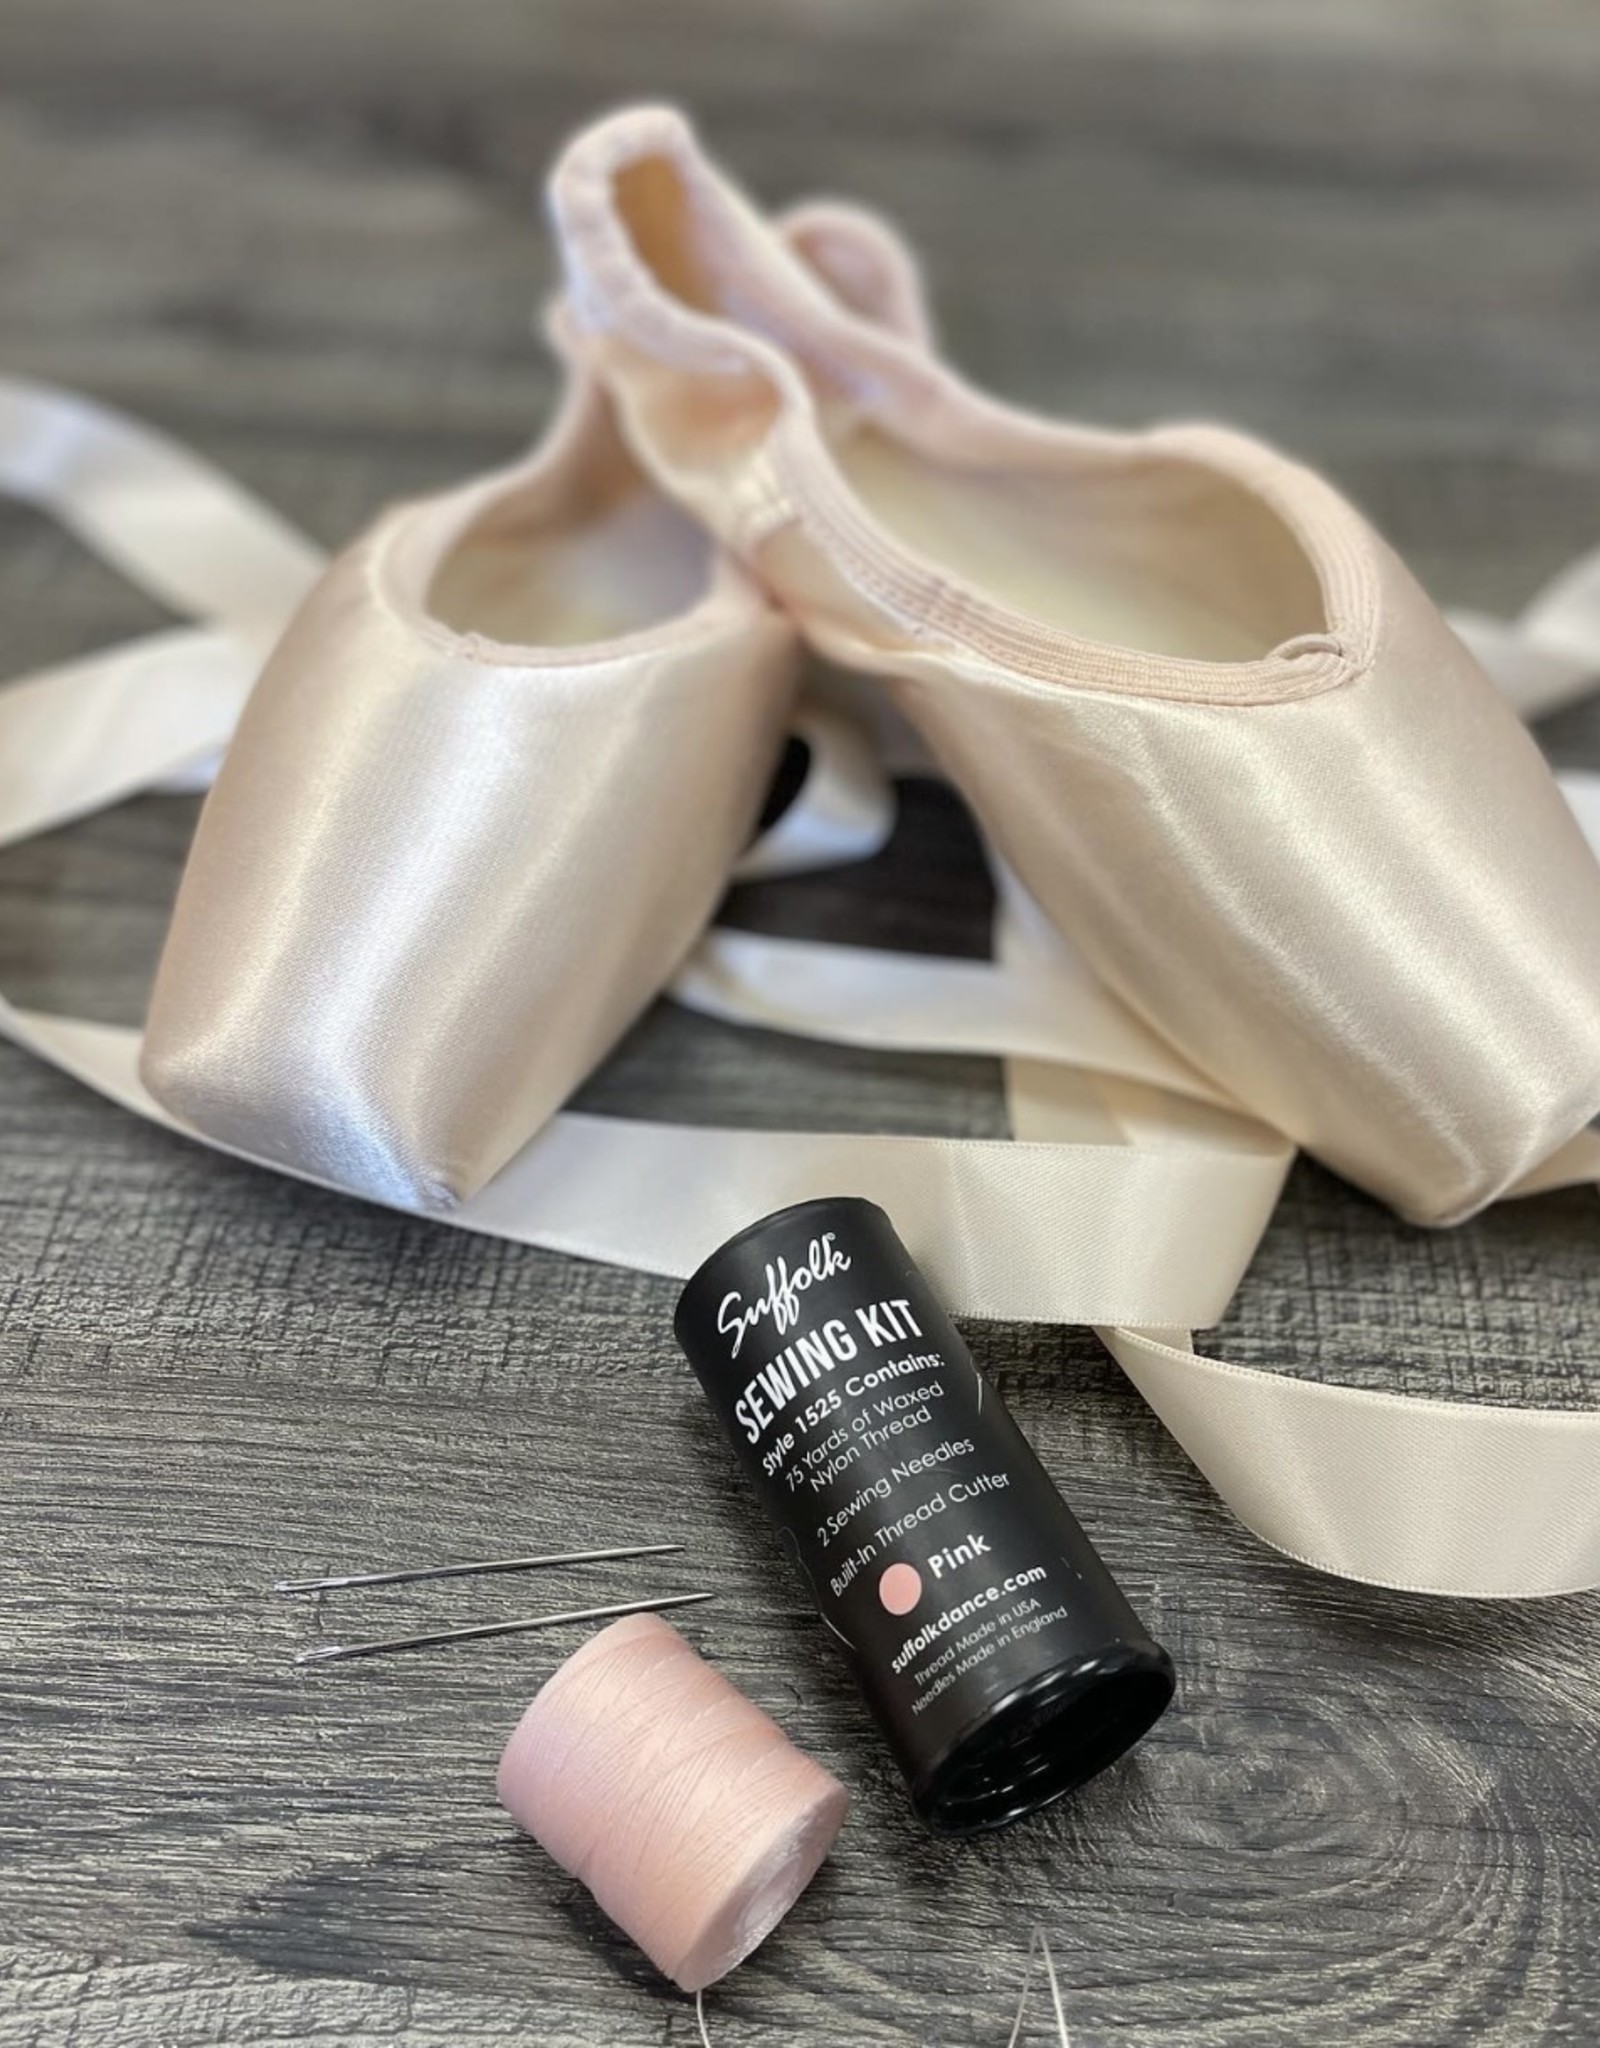
Before you start sewing your pointe shoes, gathering the necessary tools and materials ensures a smooth and efficient process. Understanding what you need helps in preparing adequately. Therefore, exploring the essential tools and materials is crucial.
Needles and Thread
The choice of needles and thread plays a significant role in the durability and security of your sewing. Use a strong, durable thread that matches the color of your pointe shoes for a seamless look. Nylon or polyester threads are excellent options due to their strength. Additionally, select a needle with a sharp point and a large eye to accommodate the thicker thread. By understanding the importance of needles and thread, you can ensure a secure and neat sewing job. Therefore, recognizing the value of quality materials is crucial.
Ribbons and Elastic
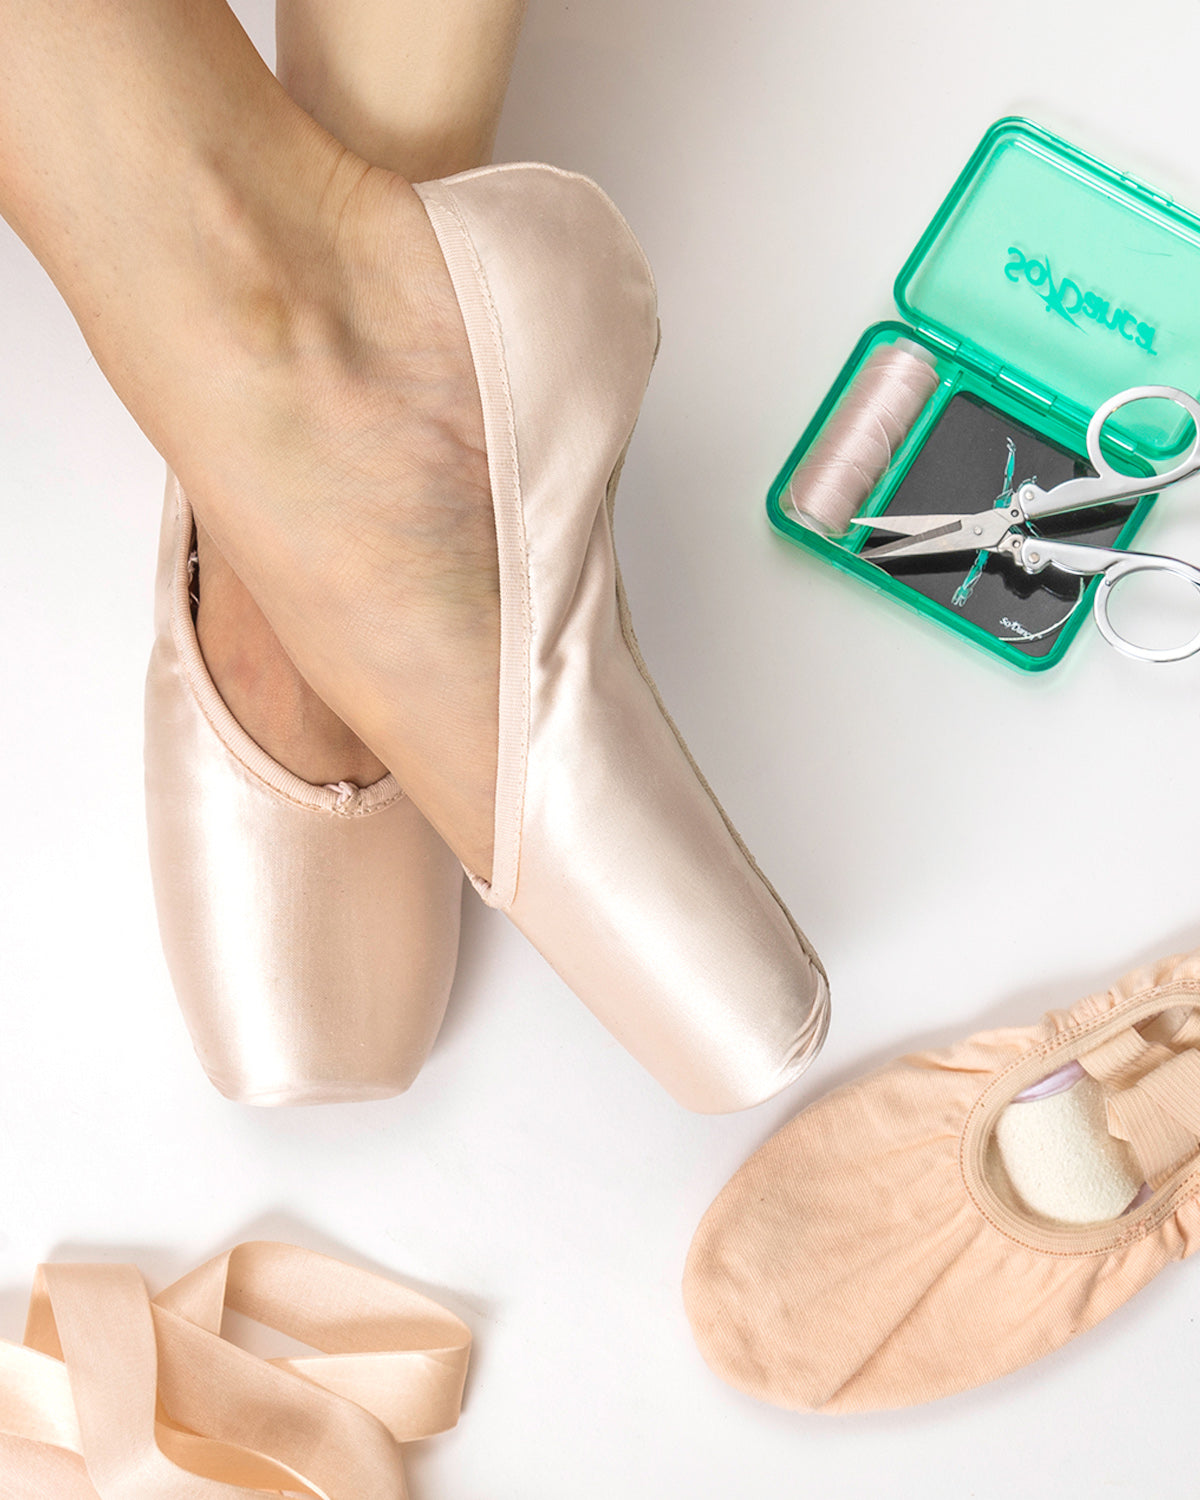
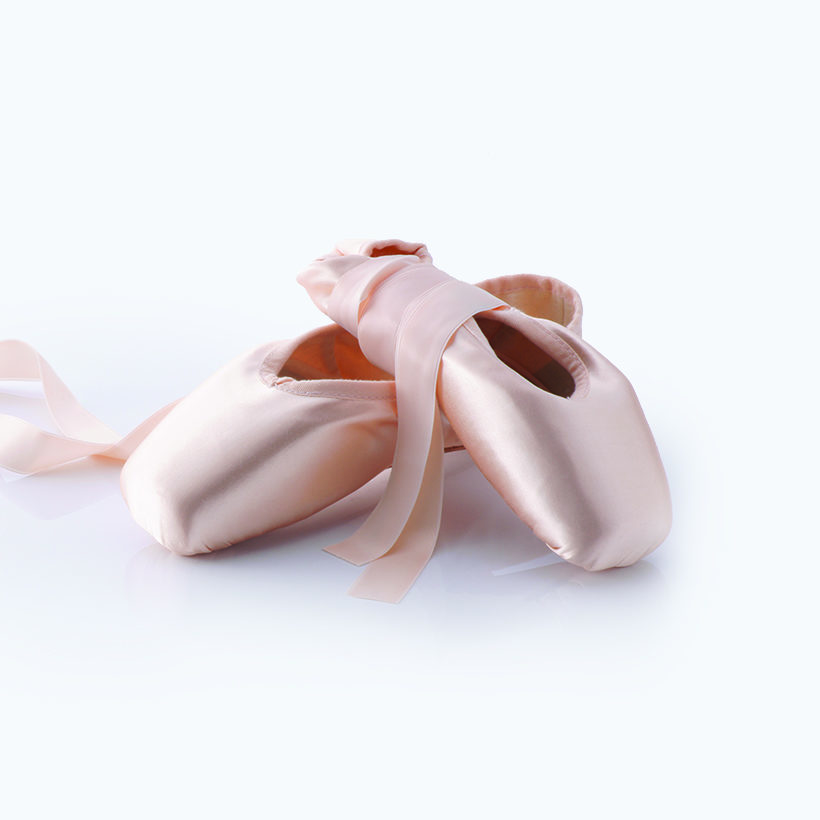
Ribbons and elastic bands are essential components for securing your pointe shoes to your feet. Ribbons should be satin or grosgrain, measuring approximately 22 inches each. Grosgrain ribbons offer more grip and are less likely to slip. Elastic bands add extra support and stability, preventing the shoe from slipping off during intense movements. Choose a strong elastic band, approximately one inch wide. By understanding the importance of ribbons and elastic, you can ensure a secure fit and enhanced performance. Therefore, recognizing the significance of proper materials is essential.
Scissors and Lighter
A pair of sharp scissors is necessary for cutting ribbons and elastic to the desired length. Additionally, having a lighter or candle on hand helps seal the ends of the ribbons and elastic to prevent fraying. Carefully pass the cut ends through the flame to melt the edges slightly. By understanding the need for scissors and a lighter, you can ensure clean and fray-free materials. Therefore, recognizing the importance of preparing your materials is crucial.
Preparing the Pointe Shoes
Proper preparation of your pointe shoes is essential before beginning the sewing process. Understanding these preparation steps helps ensure a smooth and successful sewing experience. Therefore, exploring how to prepare your pointe shoes is essential.
Marking the Placement for Ribbons and Elastic
The first step in preparing your pointe shoes is marking the placement for the ribbons and elastic. To determine the correct placement, fold down the back heel of the shoe so it touches the insole. This fold creates a natural crease along the sides of the shoe. Mark this crease with a pencil on both sides, as it indicates where the ribbons should be attached. For elastic placement, mark the back of the shoe near the heel seam. By understanding how to mark the placement, you can ensure optimal ribbon and elastic attachment points. Therefore, recognizing the importance of accurate marking is crucial.
Cutting and Sealing the Ribbons and Elastic
Cut the ribbons into four equal pieces, each approximately 22 inches long, ensuring even lengths for both shoes. Cut the elastic band into two equal pieces, each approximately 12 inches long. After cutting, use a lighter or candle to seal the ends of the ribbons and elastic to prevent fraying. Hold the ends close to the flame for a few seconds until they slightly melt. By understanding how to cut and seal the ribbons and elastic, you can prepare your materials effectively. Therefore, recognizing the importance of preventing fraying is essential.
Sewing the Ribbons
Sewing the ribbons onto your pointe shoes is a critical step in ensuring a secure and comfortable fit. Understanding the detailed sewing process helps achieve optimal results. Therefore, exploring how to sew the ribbons is essential.
Positioning the Ribbons
Position the ribbons at the marked crease on each side of the shoe, ensuring they angle slightly backward towards the heel for better support. Fold the end of the ribbon approximately half an inch to create a double layer, providing extra durability. Align the folded end with the marked crease, ensuring the ribbon’s decorative side faces outward. By understanding how to position the ribbons, you can ensure a strong and secure attachment. Therefore, recognizing the importance of proper positioning is crucial.
Stitching the Ribbons
Thread your needle with a durable, matching thread and knot the end. Begin stitching the ribbon to the shoe by making small, tight stitches along the folded end, ensuring you sew through both layers of the ribbon and the shoe’s fabric. Use a whipstitch or a backstitch technique for added strength. Continue stitching around the edges of the ribbon, creating a secure attachment. Repeat this process for all four ribbons, ensuring they are sewn firmly and evenly. By understanding how to stitch the ribbons correctly, you can achieve a secure and durable attachment. Therefore, recognizing the value of strong stitching techniques is essential.
Sewing the Elastic
Adding elastic bands to your pointe shoes provides extra support and prevents the shoes from slipping off during dance movements. Understanding the elastic sewing process helps achieve optimal support. Therefore, exploring how to sew the elastic is essential.
Positioning the Elastic
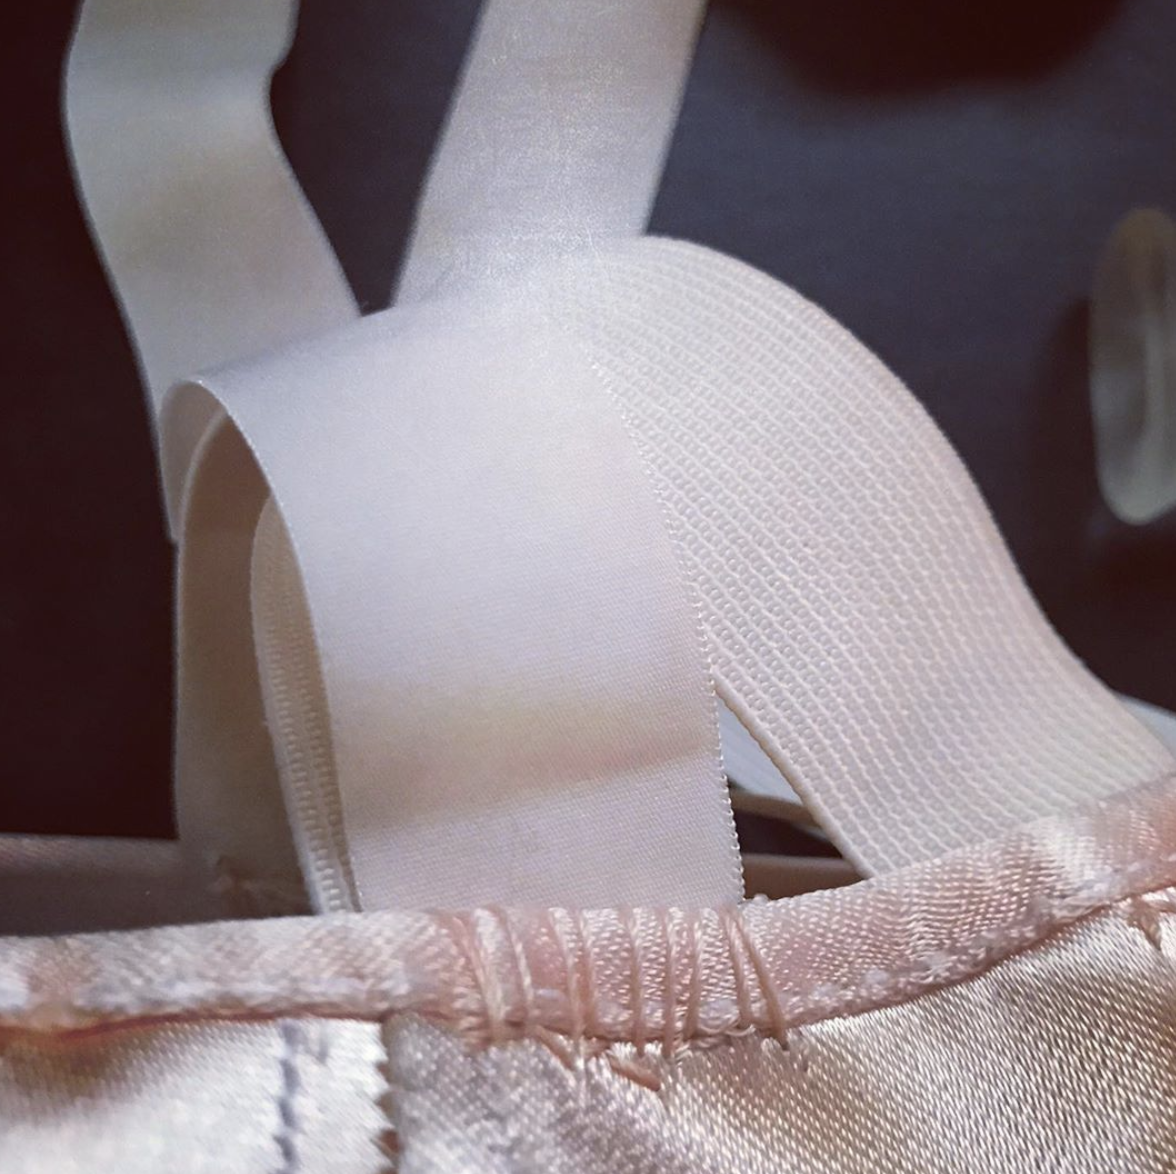
Position the elastic bands at the marked points on the back of the shoe, near the heel seam. Ensure the elastic is aligned vertically, with the ends facing downward. Fold the end of the elastic approximately half an inch to create a double layer, providing extra durability. Align the folded end with the marked point, ensuring the elastic is taut but not overly stretched. By understanding how to position the elastic, you can ensure an optimal attachment point. Therefore, recognizing the importance of proper positioning is crucial.
Stitching the Elastic
Thread your needle with a durable, matching thread and knot the end. Begin stitching the elastic to the shoe by making small, tight stitches along the folded end, ensuring you sew through both layers of the elastic and the shoe’s fabric. Use a whipstitch or a backstitch technique for added strength. Continue stitching around the edges of the elastic, creating a secure attachment. Repeat this process for both ends of the elastic on each shoe. By understanding how to stitch the elastic correctly, you can achieve a secure and durable attachment. Therefore, recognizing the value of strong stitching techniques is essential.
Customizing the Fit
Customizing the fit of your pointe shoes ensures maximum comfort and performance. Understanding these customization tips helps achieve a precise and comfortable fit. Therefore, exploring how to customize the fit is essential.
Adjusting the Ribbons
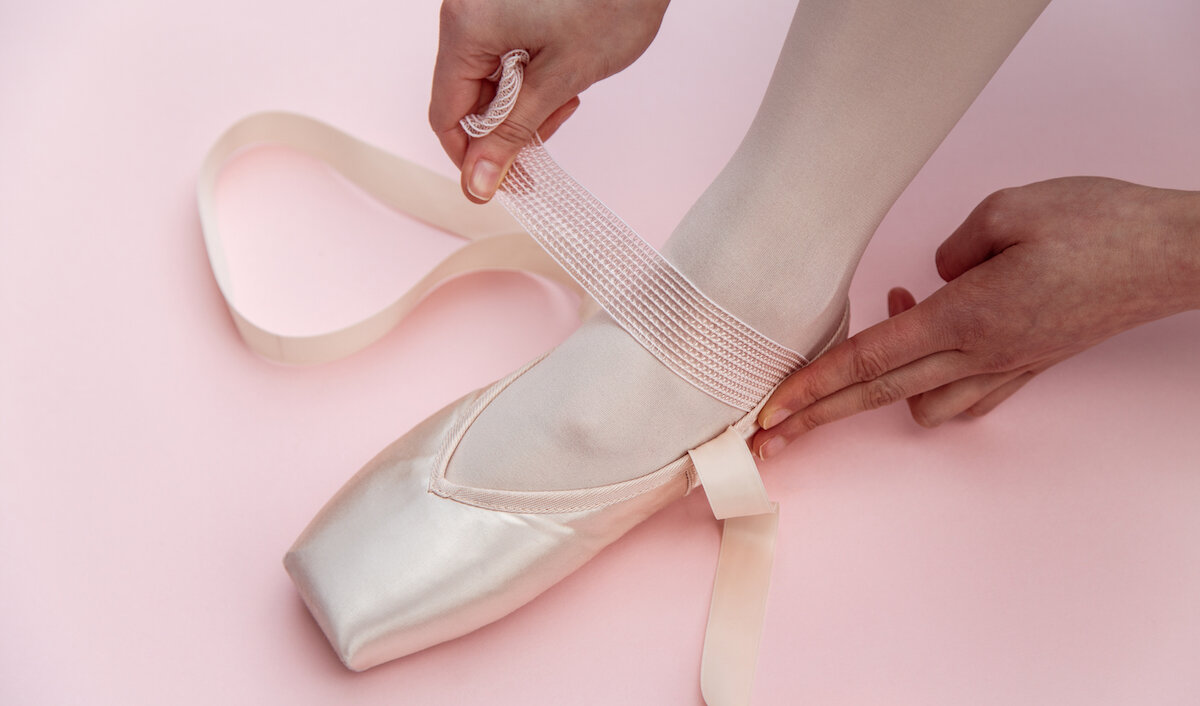
After sewing the ribbons, try on your pointe shoes and tie the ribbons as you would for a dance class. Adjust the ribbons for a snug yet comfortable fit, ensuring they provide adequate support without constricting your ankles. If the ribbons feel too tight or too loose, make necessary adjustments by repositioning them or altering the length. By understanding how to adjust the ribbons, you can achieve a personalized fit that enhances your performance. Therefore, recognizing the importance of ribbon adjustment is crucial.
Adjusting the Elastic
Similarly, after sewing the elastic bands, try on your pointe shoes and assess the fit. The elastic should provide additional support and prevent the shoes from slipping off. If the elastic feels too tight or too loose, make necessary adjustments by repositioning or altering its length. By understanding how to adjust the elastic, you can achieve a customized fit that ensures stability and comfort during dance movements. Therefore, recognizing the importance of elastic adjustment is essential.
Maintenance and Care
Proper maintenance and care of your sewn pointe shoes ensure their longevity and optimal performance. Understanding these care tips helps extend the lifespan of your shoes. Therefore, exploring maintenance and care practices is essential.

Cleaning and Storing the Shoes
Regularly clean your pointe shoes to remove dirt, sweat, and debris that can accumulate over time. Use a soft brush or cloth to wipe down the shoes, and consider using a mild detergent for deeper cleaning. After cleaning, allow the shoes to air-dry completely before storing them. Store your pointe shoes in a cool, dry place, away from direct sunlight and moisture. Use a shoe bag or box to protect them from dust and damage. By understanding how to clean and store your pointe shoes, you can maintain their condition and performance. Therefore, recognizing the importance of regular cleaning is crucial.
Inspecting and Reinforcing Stitches
Regularly inspect the stitches on your pointe shoes to ensure they remain secure and intact. Check for any signs of wear or loosening, particularly around the ribbons and elastic attachments. If you notice any fraying or weakening stitches, reinforce them with additional stitches or replace the ribbons and elastic if necessary. By understanding the importance of inspecting and reinforcing stitches, you can ensure your pointe shoes provide continued support and durability. Therefore, recognizing the value of regular inspections is essential.
Addressing Common Questions About Sewing Pointe Shoes
Understanding common questions about sewing pointe shoes provides clarity and enhances your sewing skills. Knowledge of these answers ensures better preparation and effective sewing. Therefore, exploring common questions is essential.
How Long Does It Take to Sew Pointe Shoes?
A common question is how long it takes to sew pointe shoes. The sewing process typically takes about one to two hours, depending on your experience and the complexity of the attachment. Taking your time to ensure accurate placement and secure stitches is essential for a durable and comfortable result. By understanding the time commitment, you can plan accordingly and avoid rushing the sewing process. Therefore, recognizing the importance of patience and precision is crucial.
Can I Use a Sewing Machine to Sew Pointe Shoes?
Another common question is whether a sewing machine can be used to sew pointe shoes. While a sewing machine can provide strong and even stitches, it may not be suitable for the delicate and precise work required for sewing pointe shoes. Hand sewing allows for better control and accuracy, particularly when attaching ribbons and elastic in tight or curved areas. By understanding the limitations of a sewing machine, you can choose the most appropriate method for sewing your pointe shoes. Therefore, recognizing the value of hand sewing is essential.
Addressing Common Misconceptions About Sewing Pointe Shoes
Addressing common misconceptions about sewing pointe shoes provides accurate information and dispels unwarranted concerns. Clearing up misunderstandings ensures an informed perspective. Therefore, exploring common misconceptions is important.
Misconception: Sewing Pointe Shoes Is Too Difficult for Beginners
A common misconception is that sewing pointe shoes is too difficult for beginners. While it may seem challenging at first, with patience and practice, even beginners can successfully sew their pointe shoes. Following detailed instructions and using the right tools and materials make the process more manageable. By understanding that sewing pointe shoes is an achievable skill, you can approach it with confidence and determination. Therefore, dispelling this misconception highlights the importance of practice and perseverance.
Misconception: All Pointe Shoes Require the Same Sewing Technique
Another misconception is that all pointe shoes require the same sewing technique. In reality, different brands and models of pointe shoes may have unique construction features that influence the sewing process. It is essential to consider the specific design and structure of your pointe shoes when determining the best sewing technique. By understanding the variability in pointe shoes, you can adapt your sewing approach accordingly. Therefore, dispelling this misconception emphasizes the importance of customization.
Conclusion: Achieving Secure and Comfortable Pointe Shoes
Achieving secure and comfortable pointe shoes involves understanding the necessary tools and materials, preparing the shoes, and following detailed sewing steps. Proper preparation, including marking placement and cutting ribbons and elastic, ensures a smooth sewing process.
Exploring critical aspects such as positioning and stitching ribbons and elastic, customizing the fit, and maintaining the shoes provides comprehensive knowledge and practical approaches. Recognizing the importance of addressing common questions and dispelling misconceptions enhances overall confidence and effectiveness in sewing pointe shoes.
By engaging with these elements, you can confidently sew your pointe shoes, ensuring they provide the necessary support and stability for optimal performance. Therefore, whether you are a beginner or an experienced dancer, understanding how to sew pointe shoes offers practical and valuable insights. Embrace the opportunity to enhance your ballet experience, knowing you have the skills and resources to make informed choices!